Difficulty: 1.5/5
Time: 1-1.5hr
Tools used:
- 3/8 Ratchet
- 1/4 Ratchet
- 1/4 Ratchet Extensions
- Triple Square/XZN bit sockets
- 4mm Hex Bit Socket
- 10mm Shallow Socket
- 10mm Swivel Socket
- T30 Torx Bit Socket
- EZ Red Magnetic Flashlight (Highly recommend this particular flashlight as it fits perfectly in the door space)
- Body Panel Removal Tools
- Magnetic Tray
- Philips #2 Screw Driver
- Small Flat Head Screw Driver
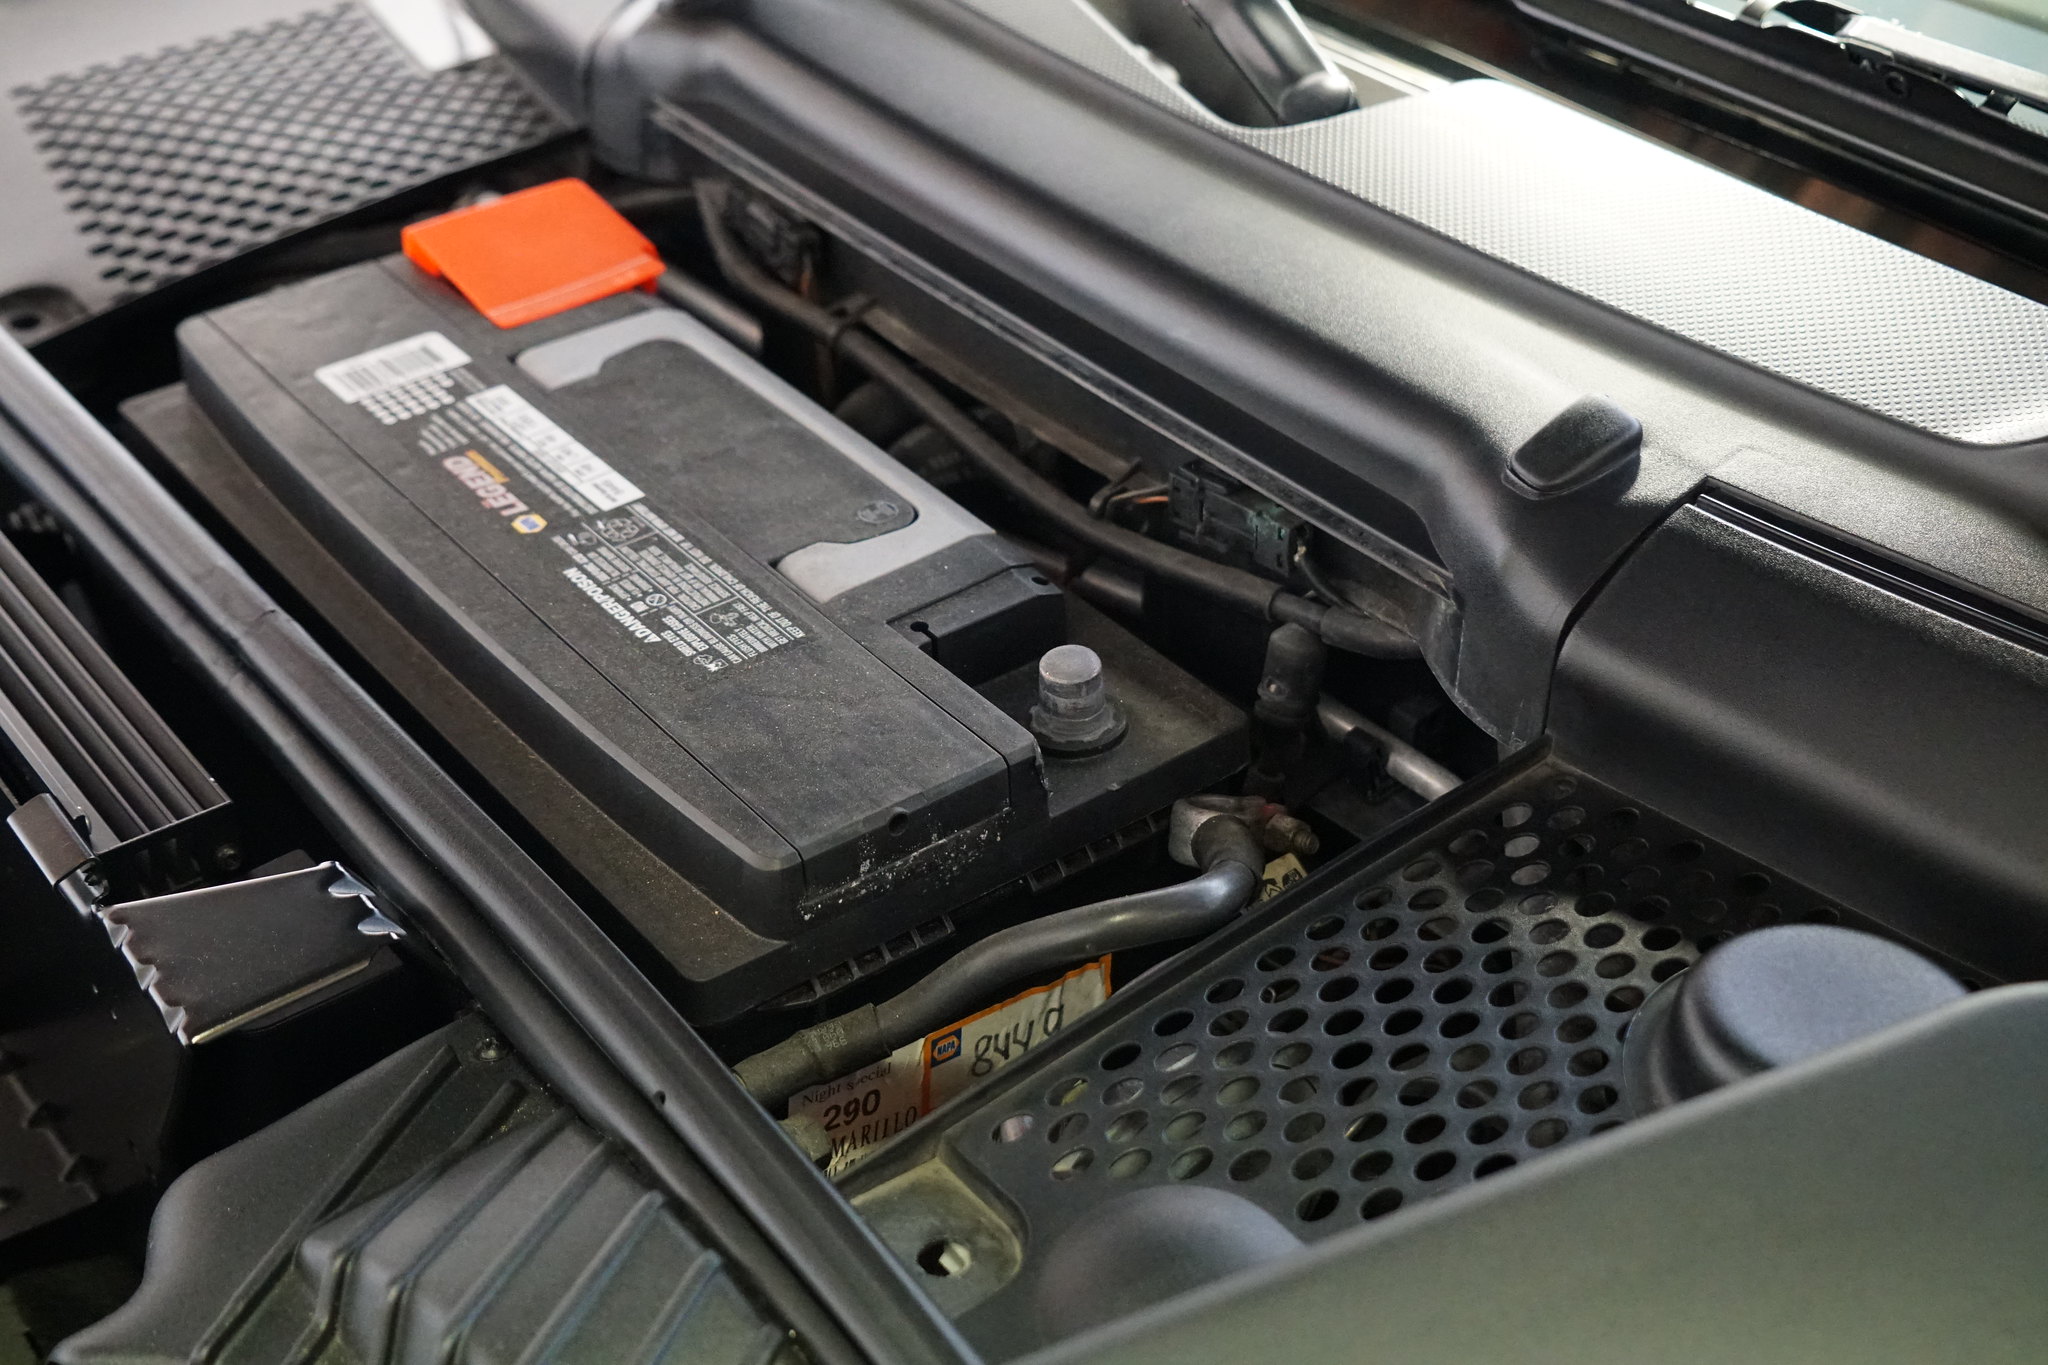
1. Disconnect Battery. This isn’t super necessary, but we will be disconnecting several electrical connectors. (Better safe than sorry!) You will need a 10mm socket for this.
2. Remove interior mirror trim with a plastic panel tool. You will want to pry outwards on the bottom, then push up.
If you are removing the driver side, you will have to remove an electrical connector. You don’t have to do this, but I didn’t want the piece dangling and possibye getting scratched. Just note you have to lift two somewhat hidden prongs before trying to unplug the connector.
3. Remove door handle trim with a plastic panel tool. You will want to pry off the trim piece. You can see in the picture below that there are 5 clips holding this piece on. You will then need a T30 torx bit to remove the two screws.
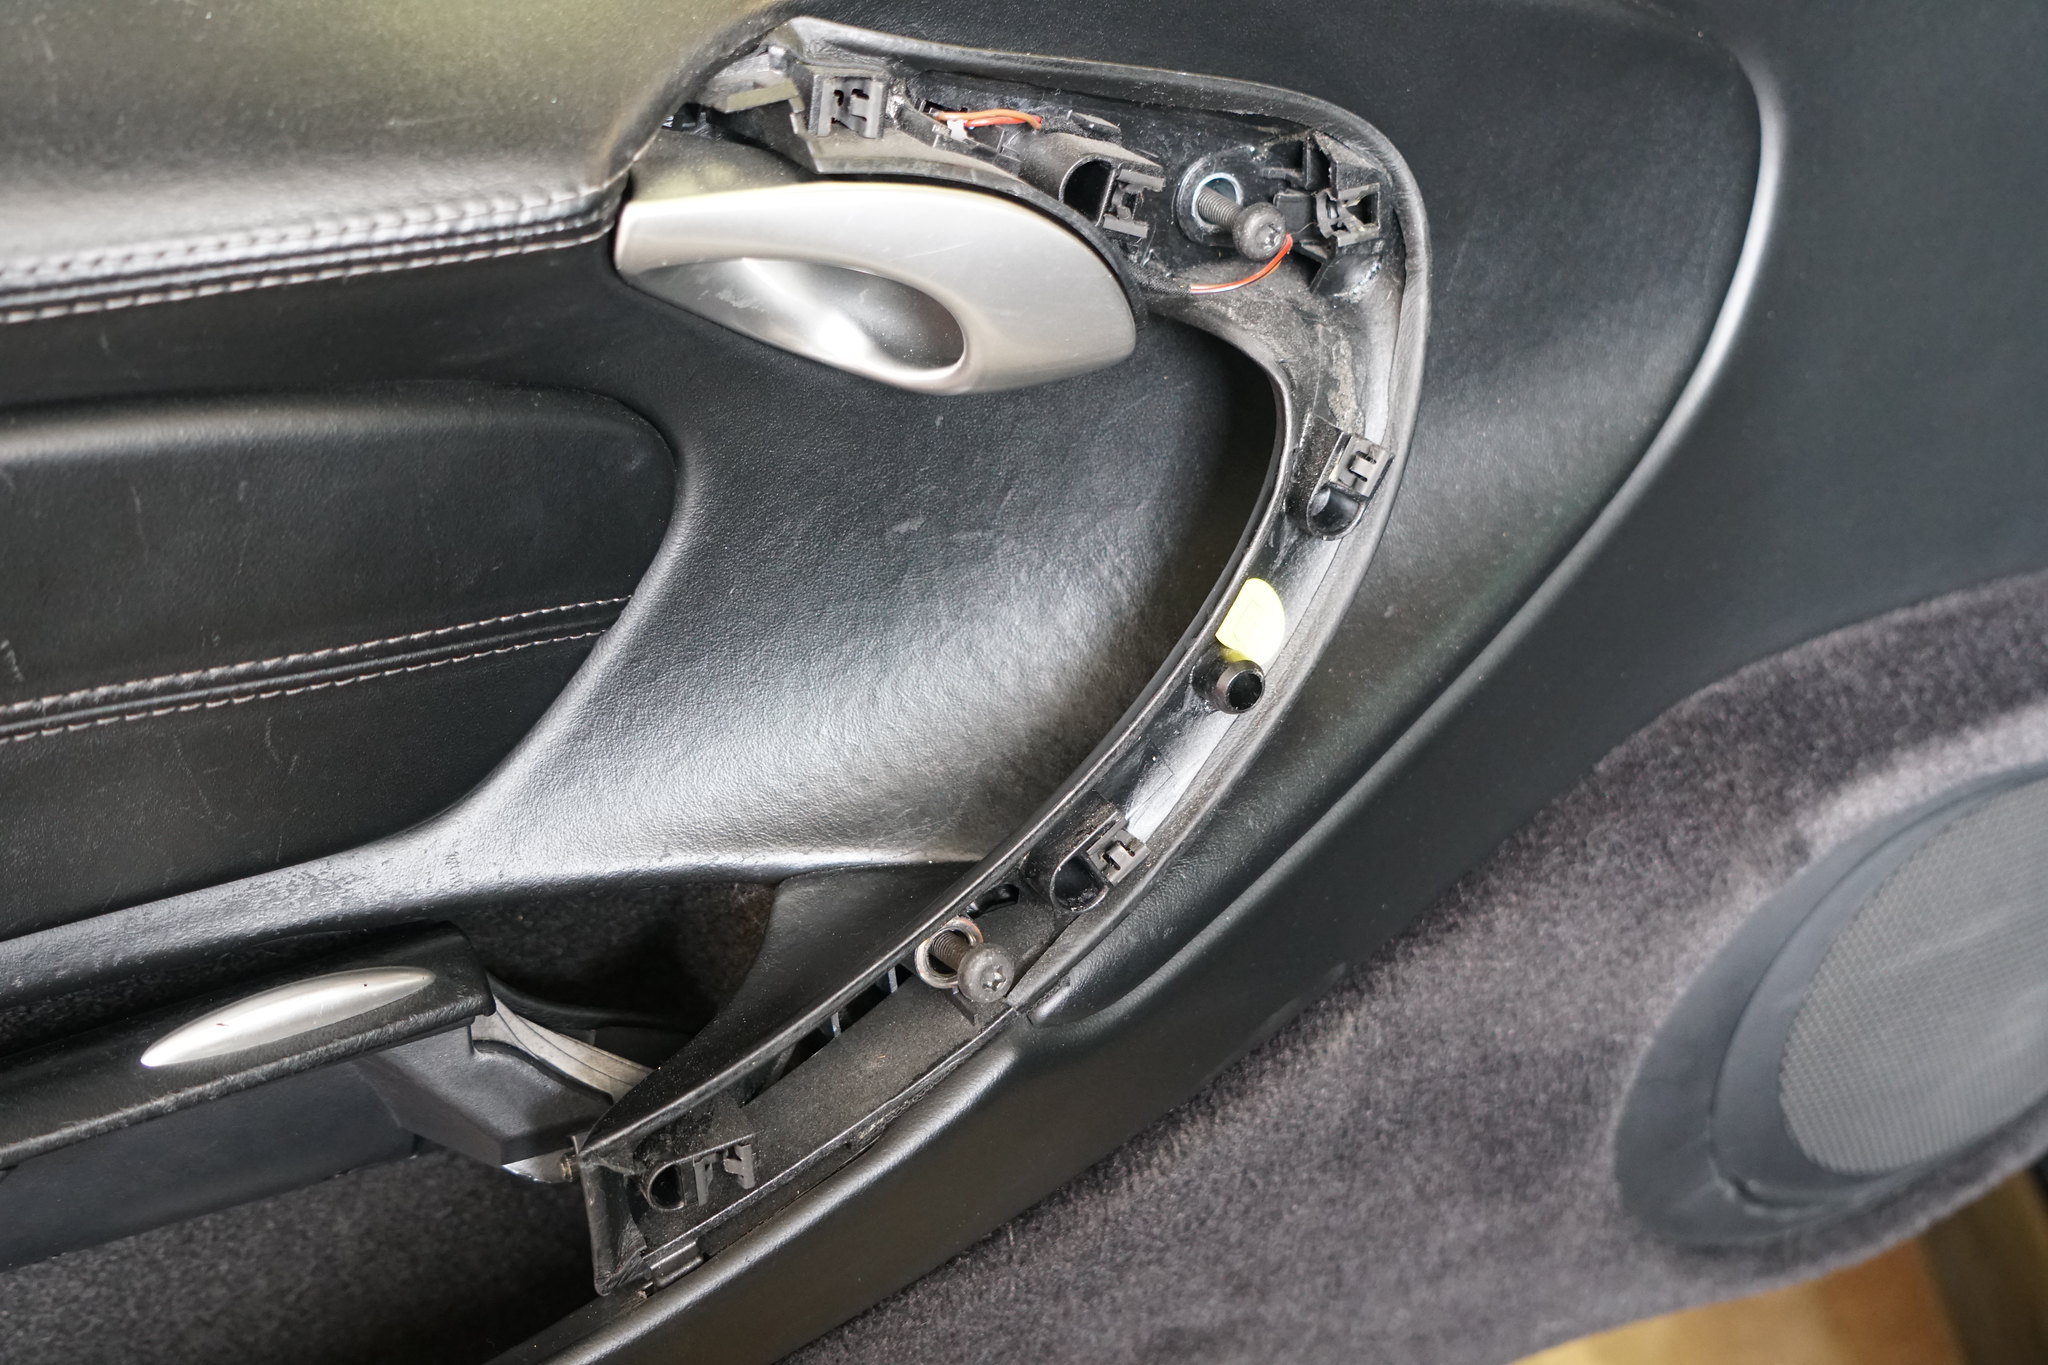
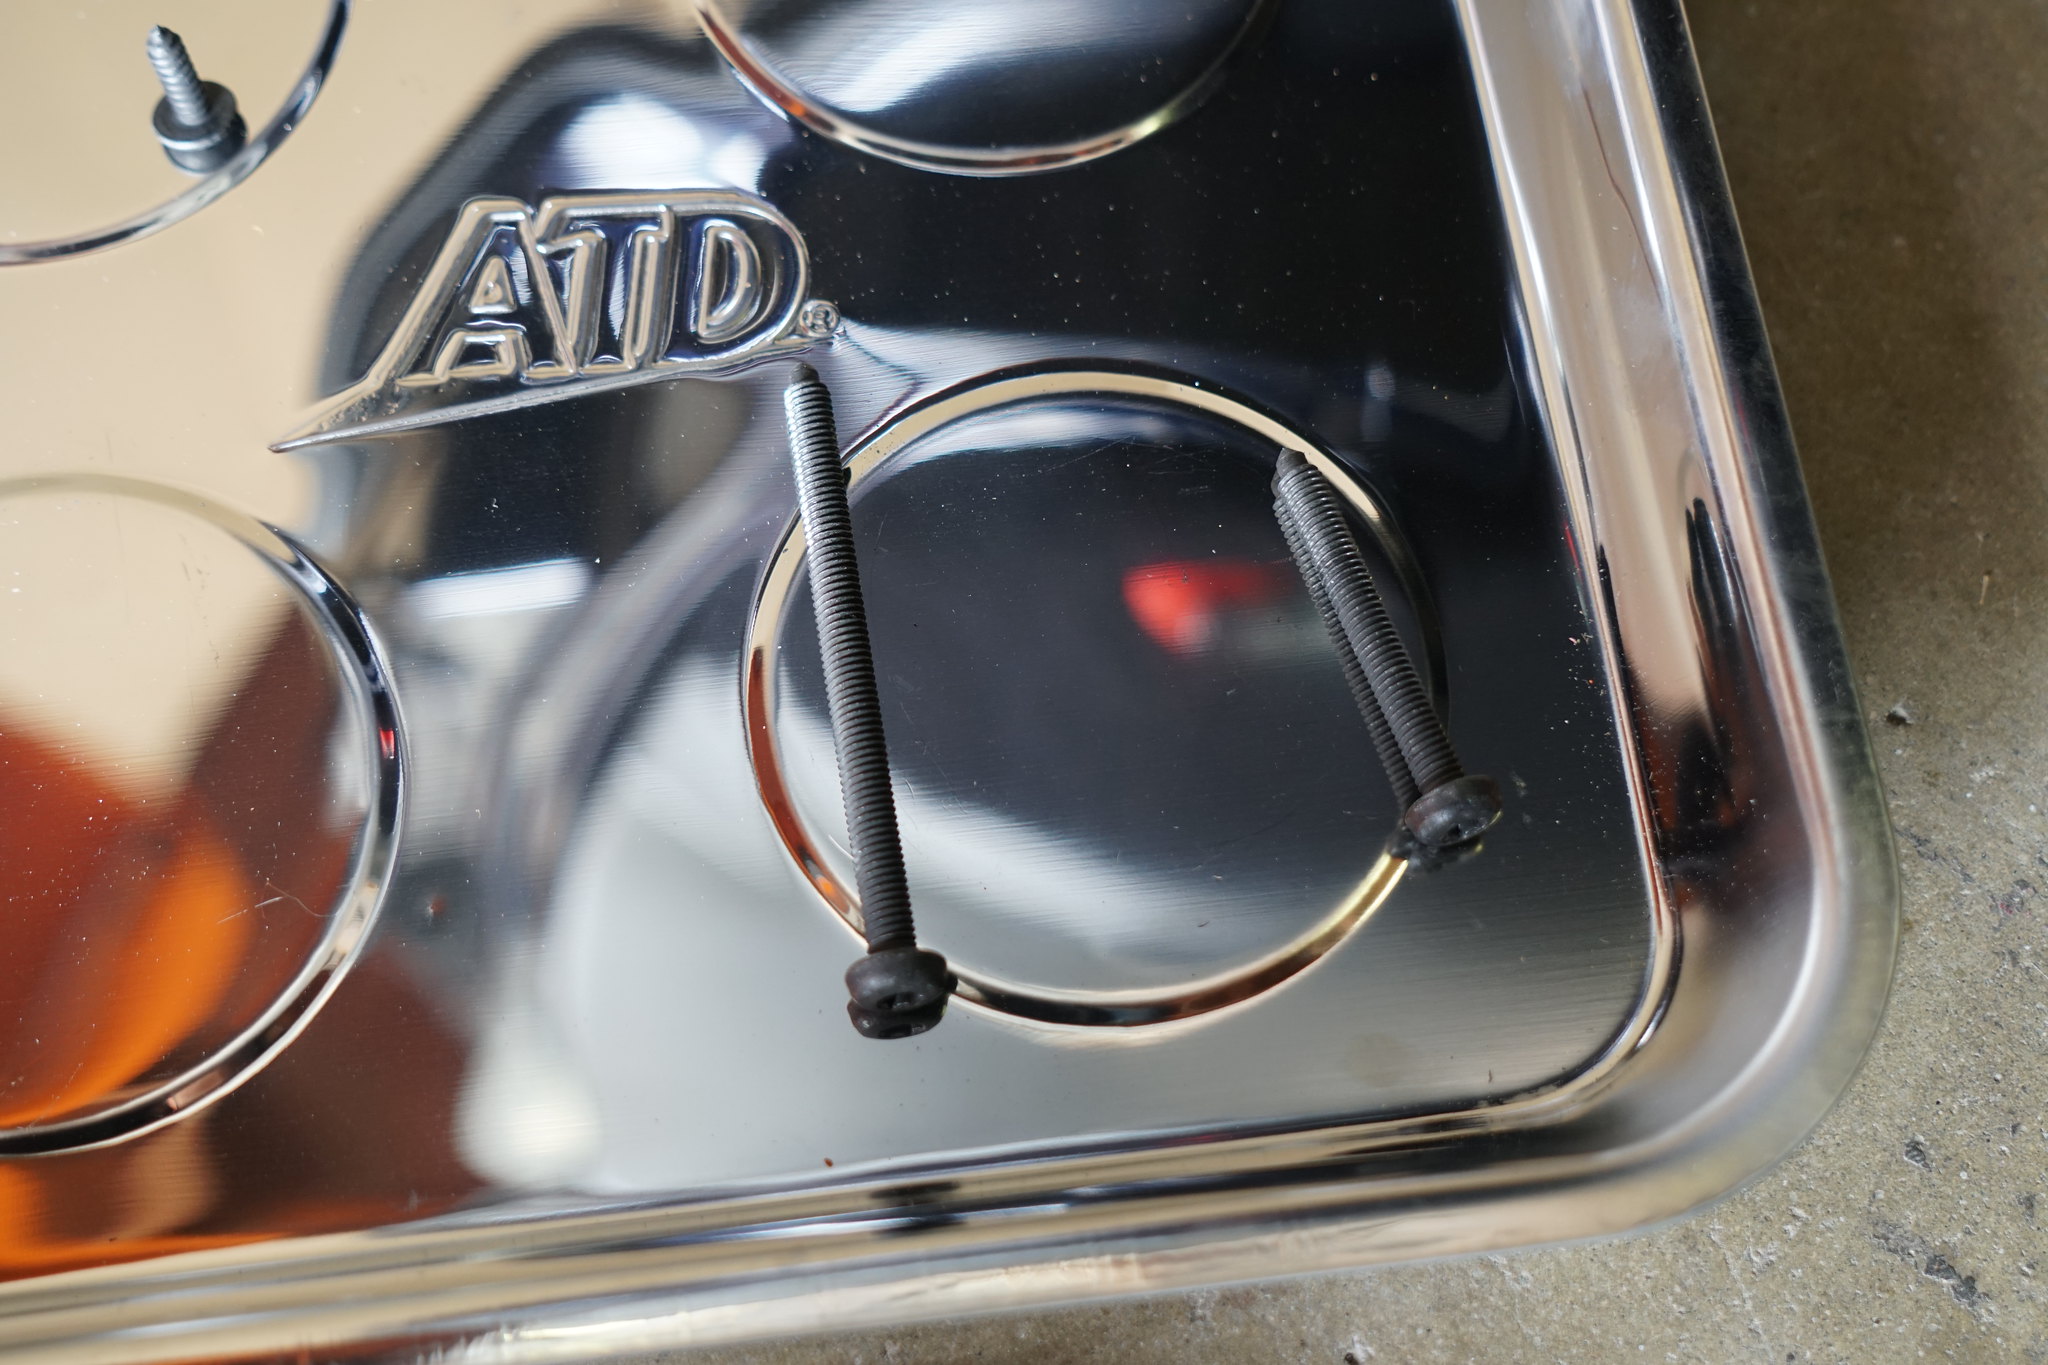
Just note that the screws are different lengths. The longer screw goes into the bottom hole.
4. Remove screw behind door pull. You will need a #2 Phillips screw driving for this.
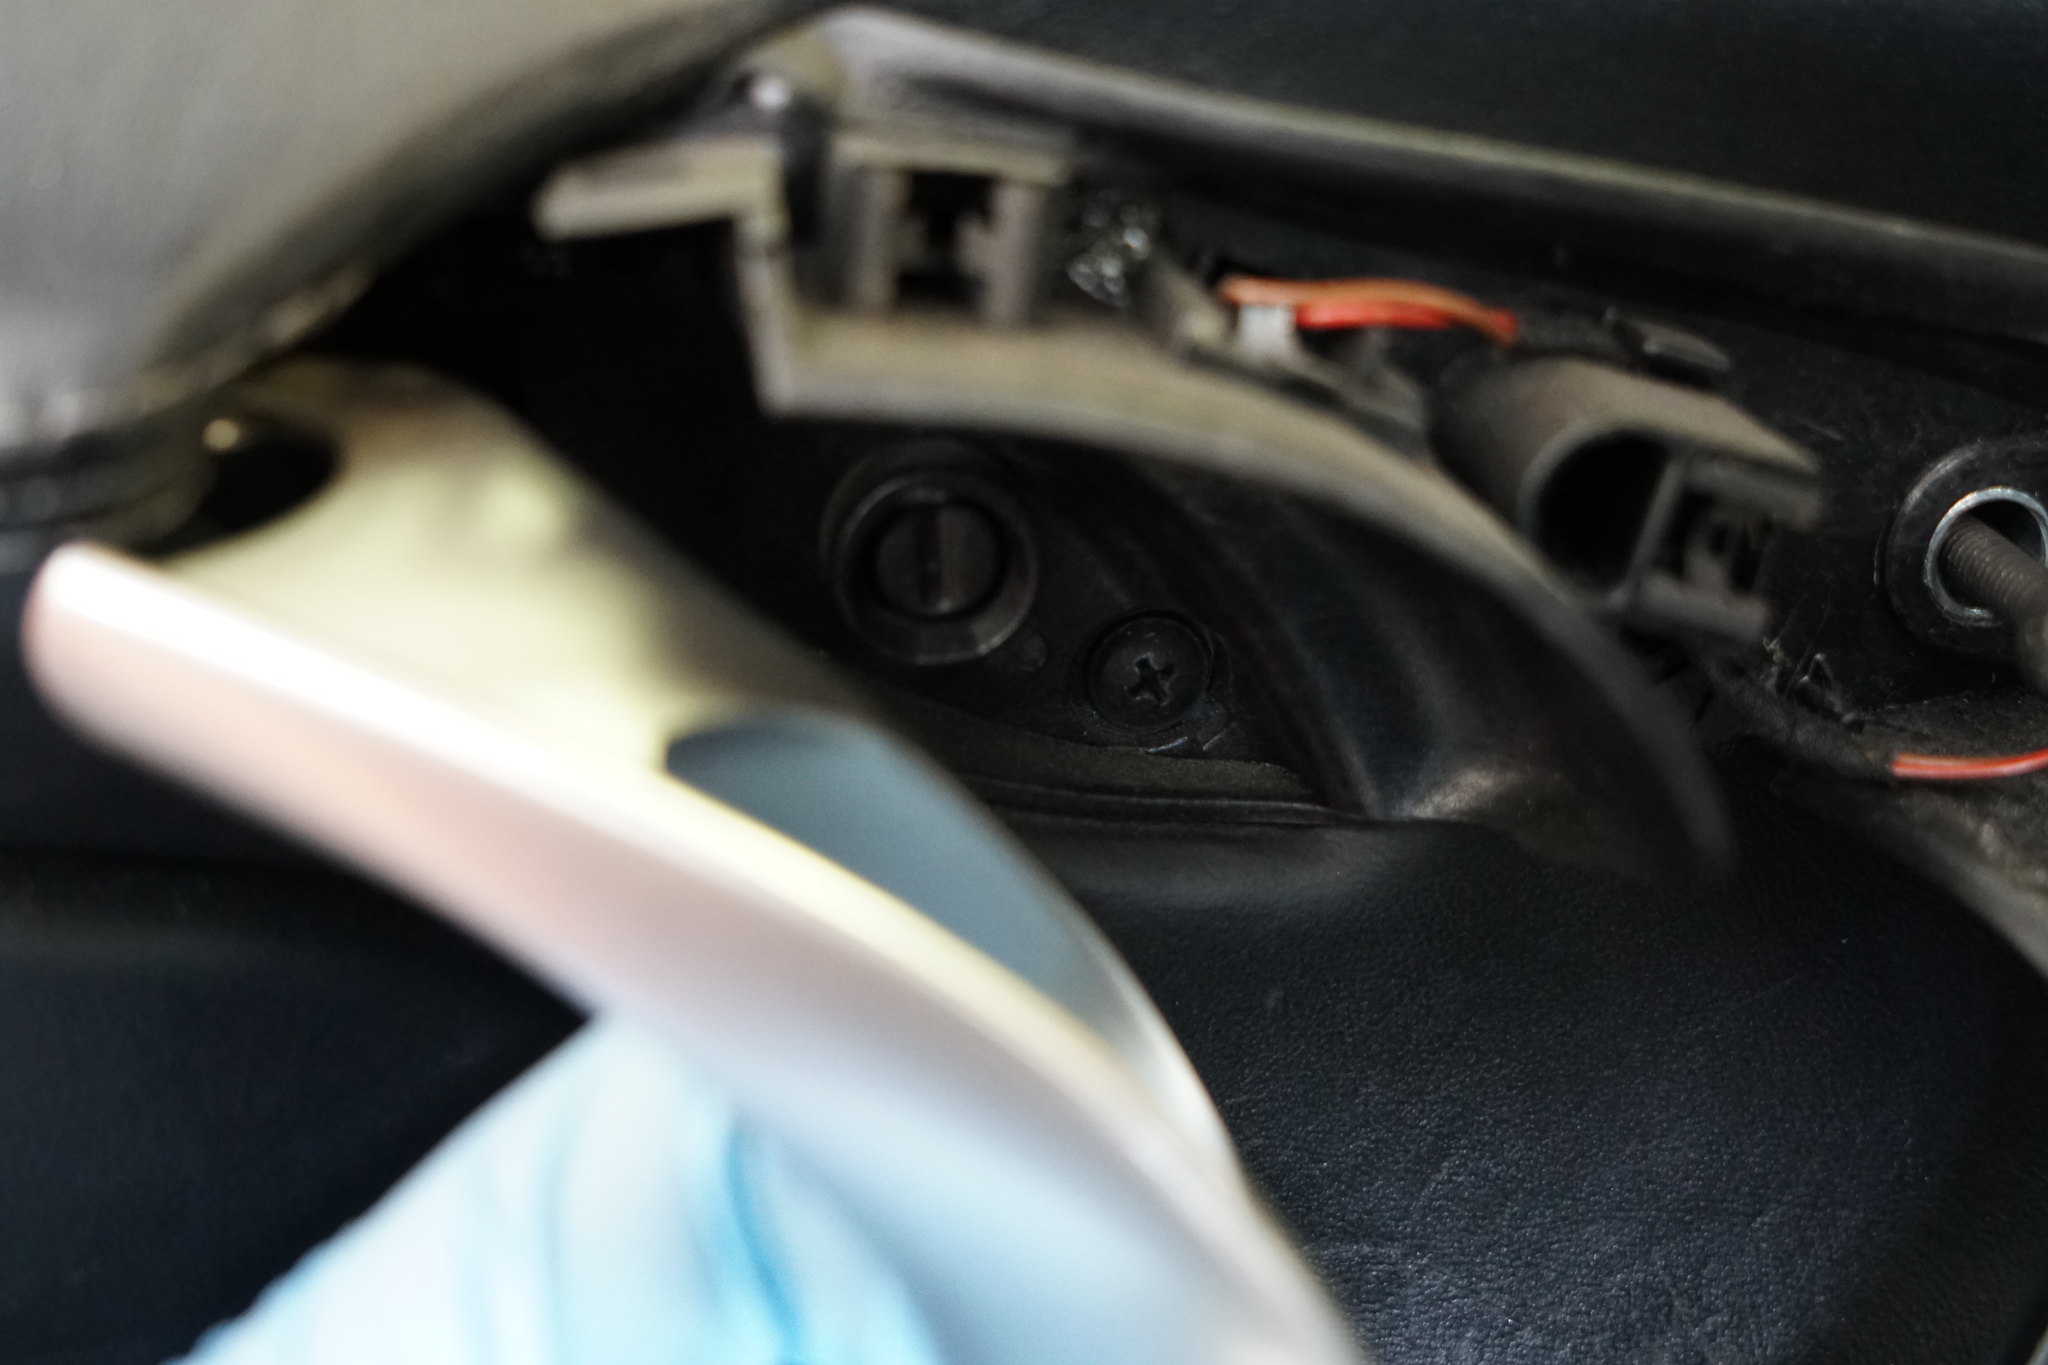
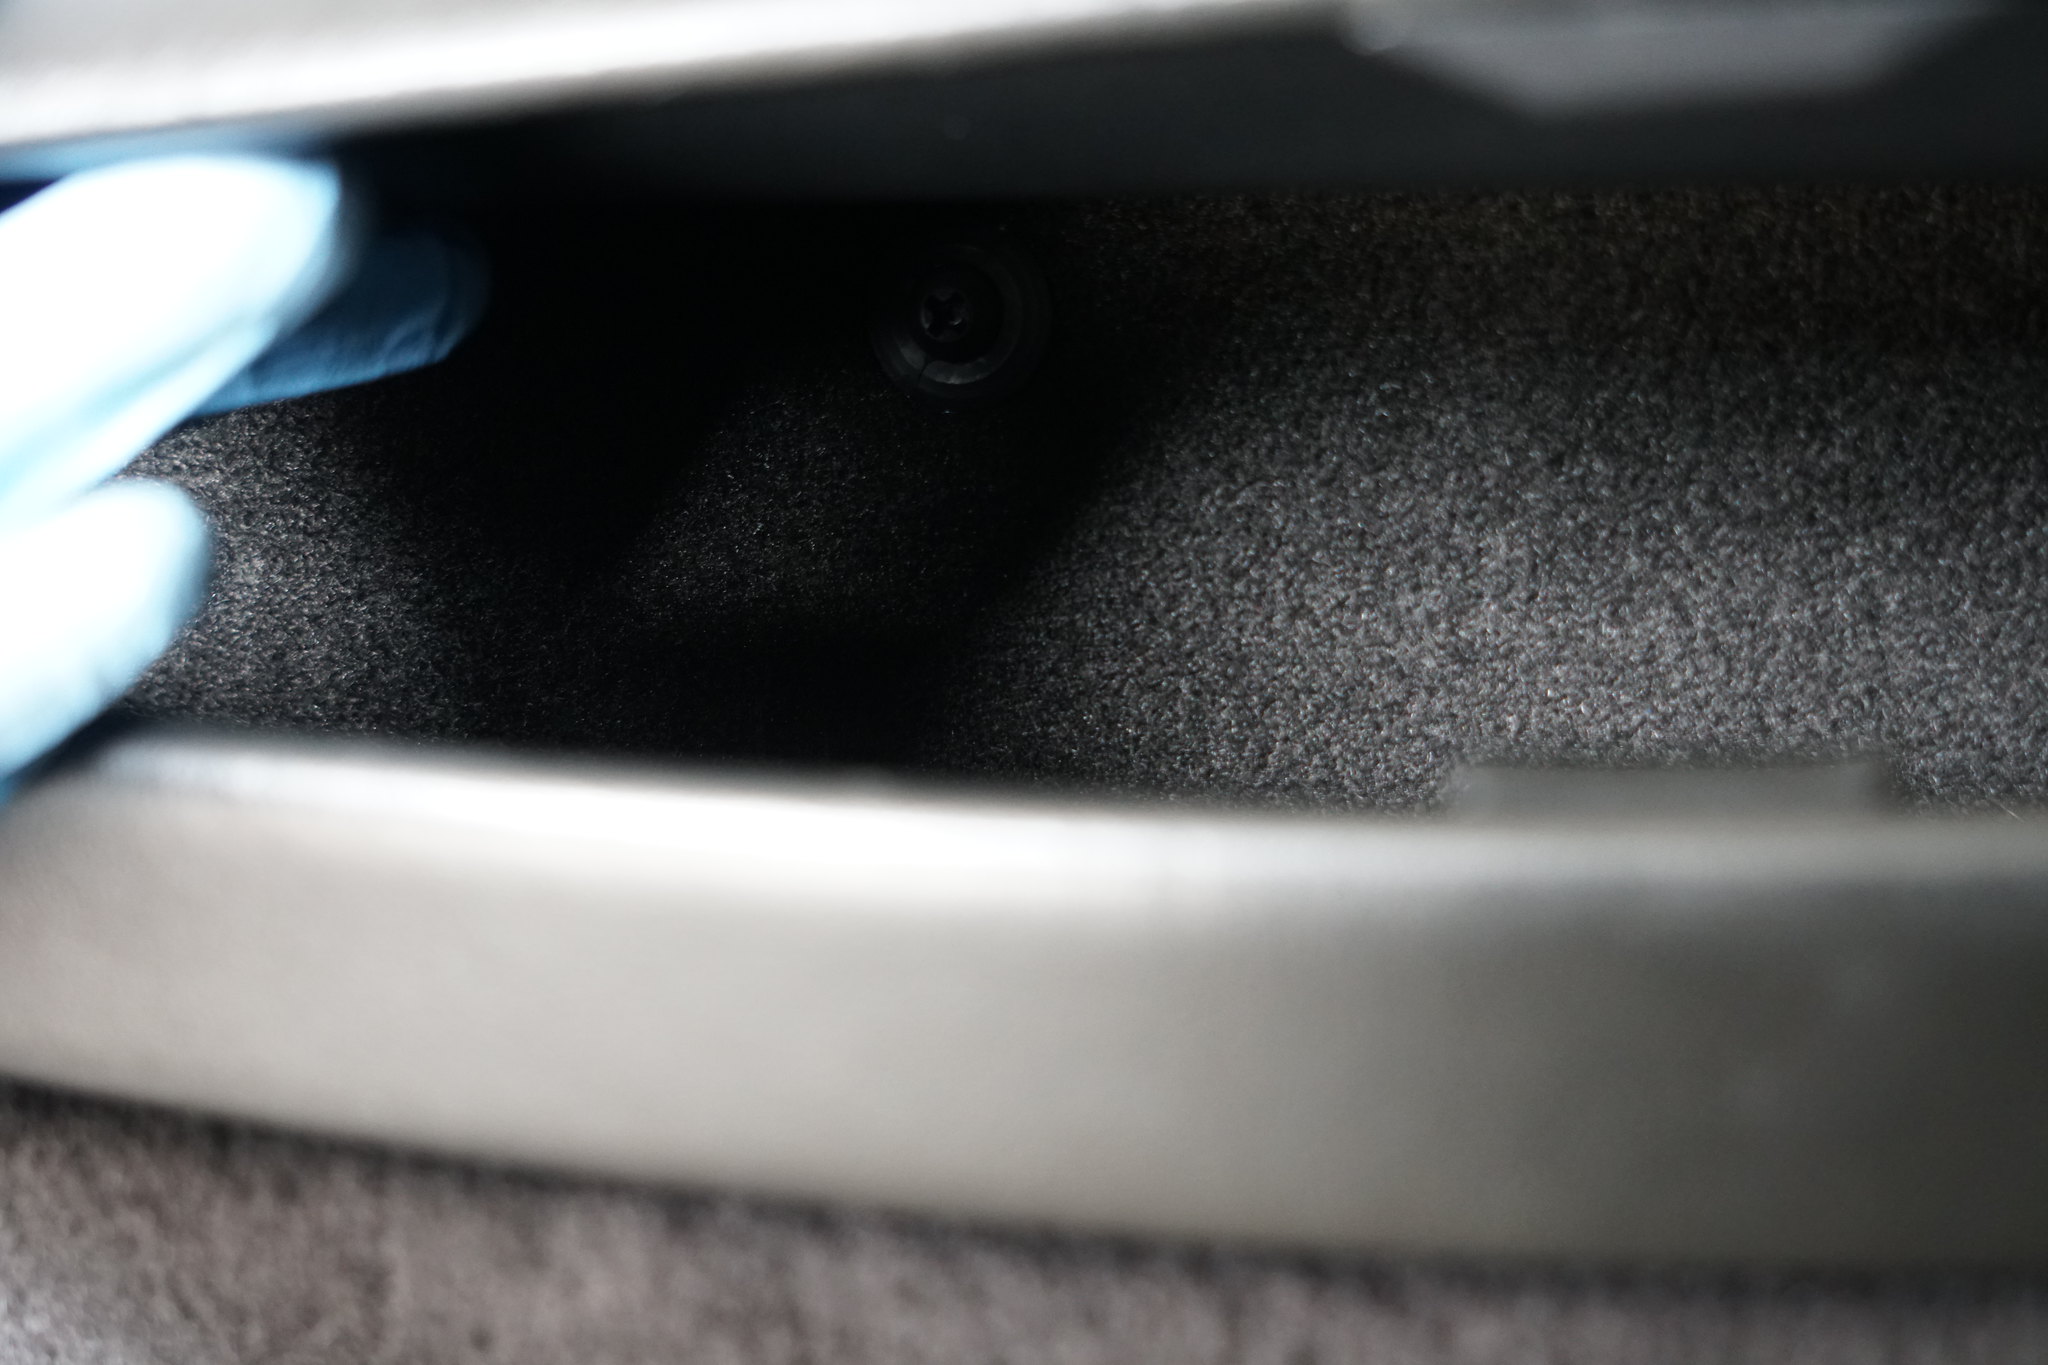
5. Loosen, but do not remove the screw inside storage compartment. You will need a #2 Philips screw driver for this. This screw is inside of an expanding plastic rivet/clip.
6. Remove courtesy light with a plastic panel pry bar.
7. The only thing left holding the door in at this point are clips. You will need to pry from the bottom; I prefer to start with the rear most bottom corner and work my way around the bottom and then move upwards. When all clips are removed, push up on the door panel to remove the top U channel from door seal. You need to be careful as the door cable and two cables wills till be attached to the other side of the door panel.
Remove two electrical plugs.
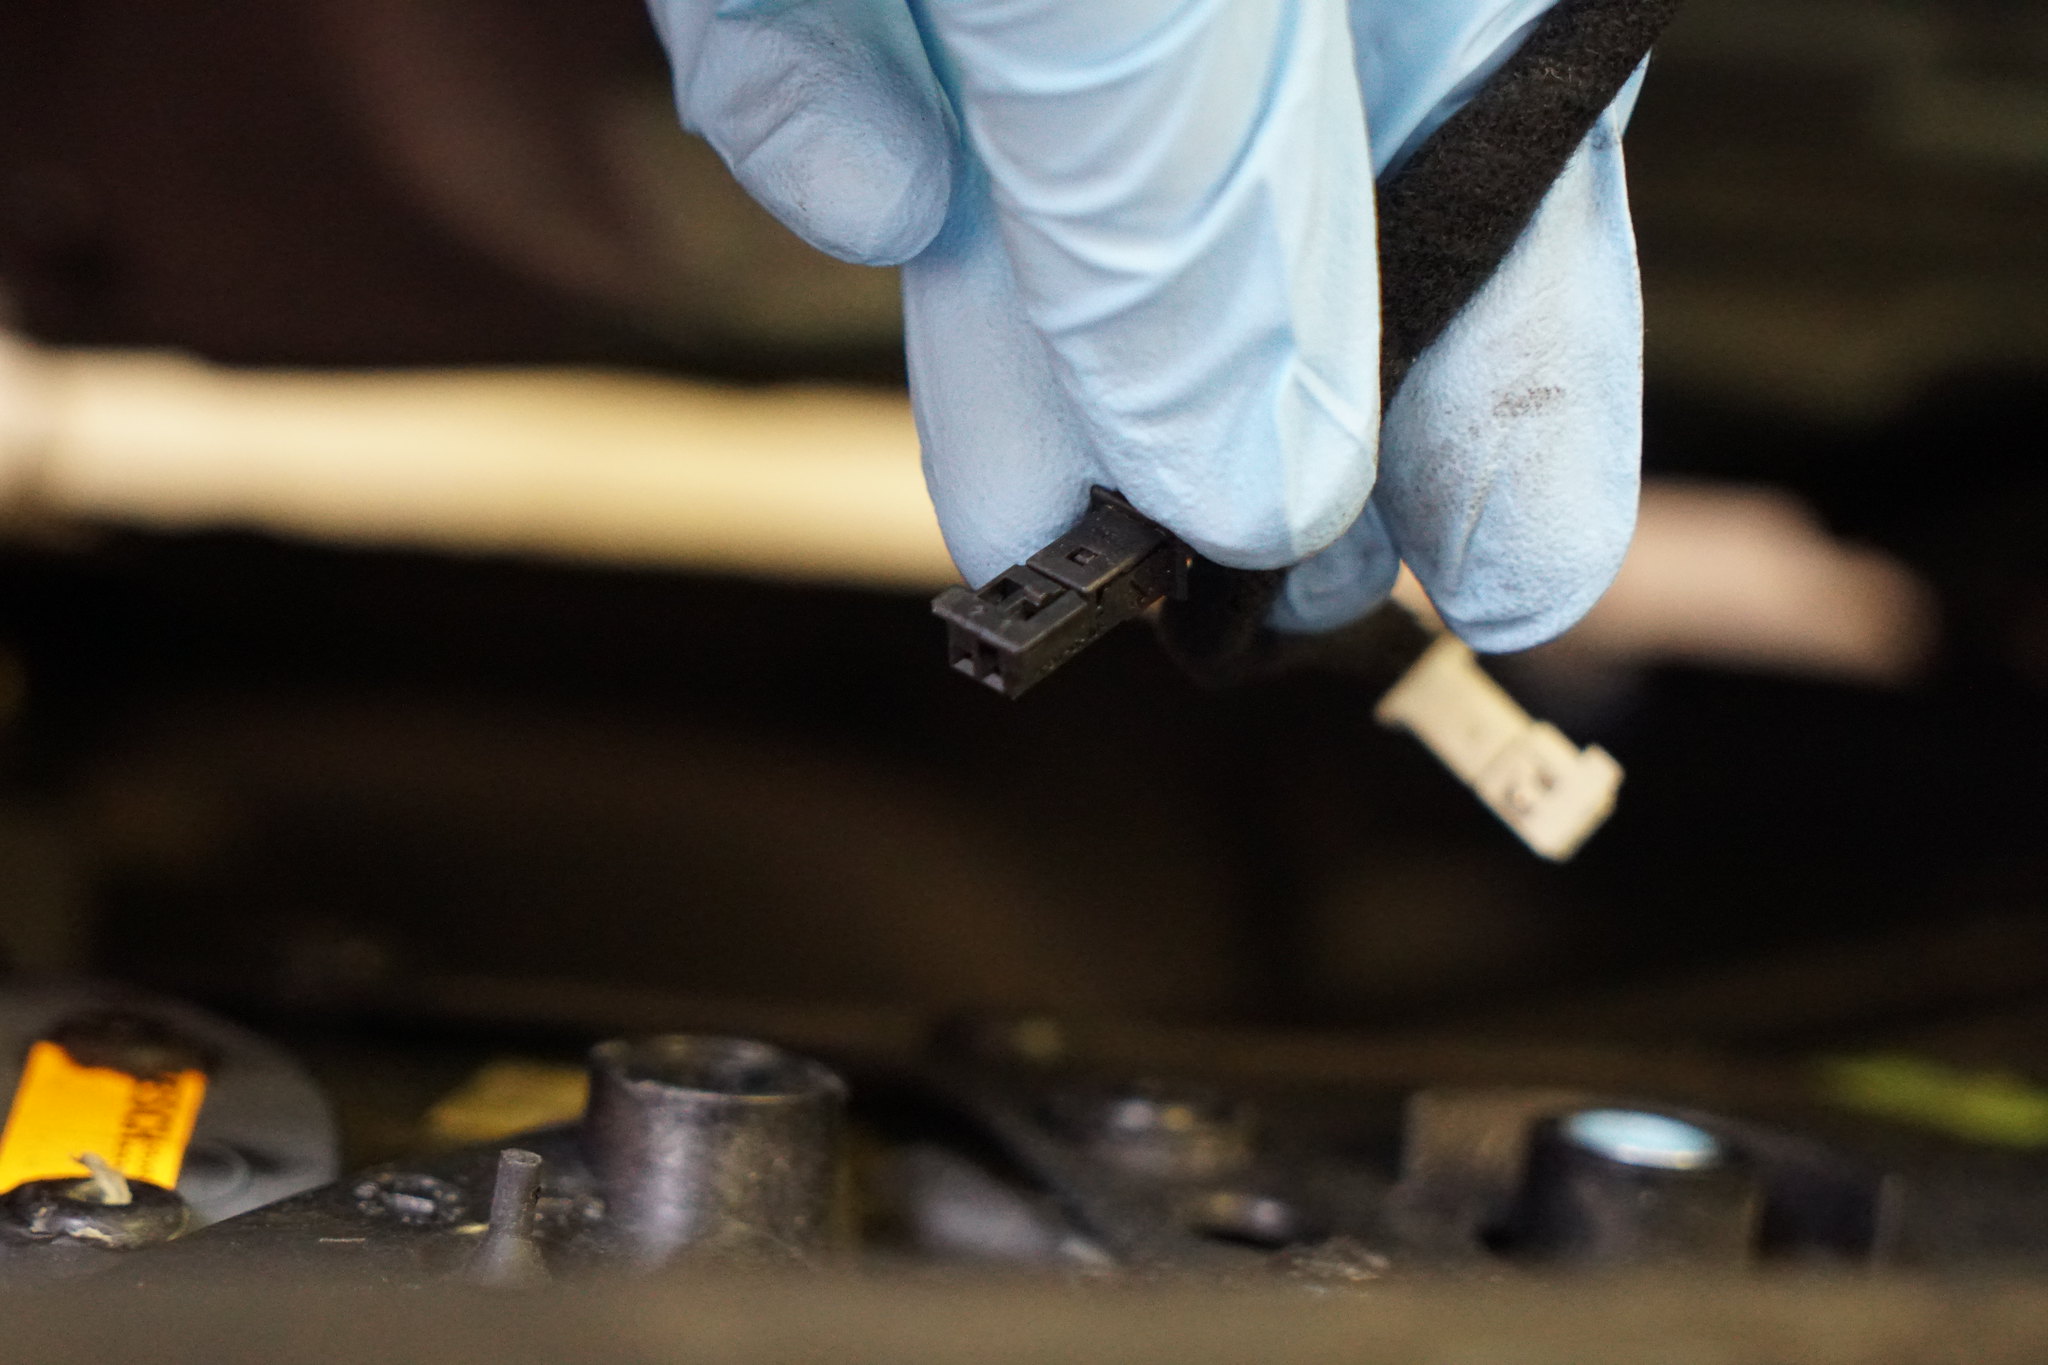
8. Remove the door handle cable. (Apologies for the blurry photo) You will need to slide the white clip away from the end of the cable. Then release the cable end from the door handle. You will be able to remove the door panel completely after this.
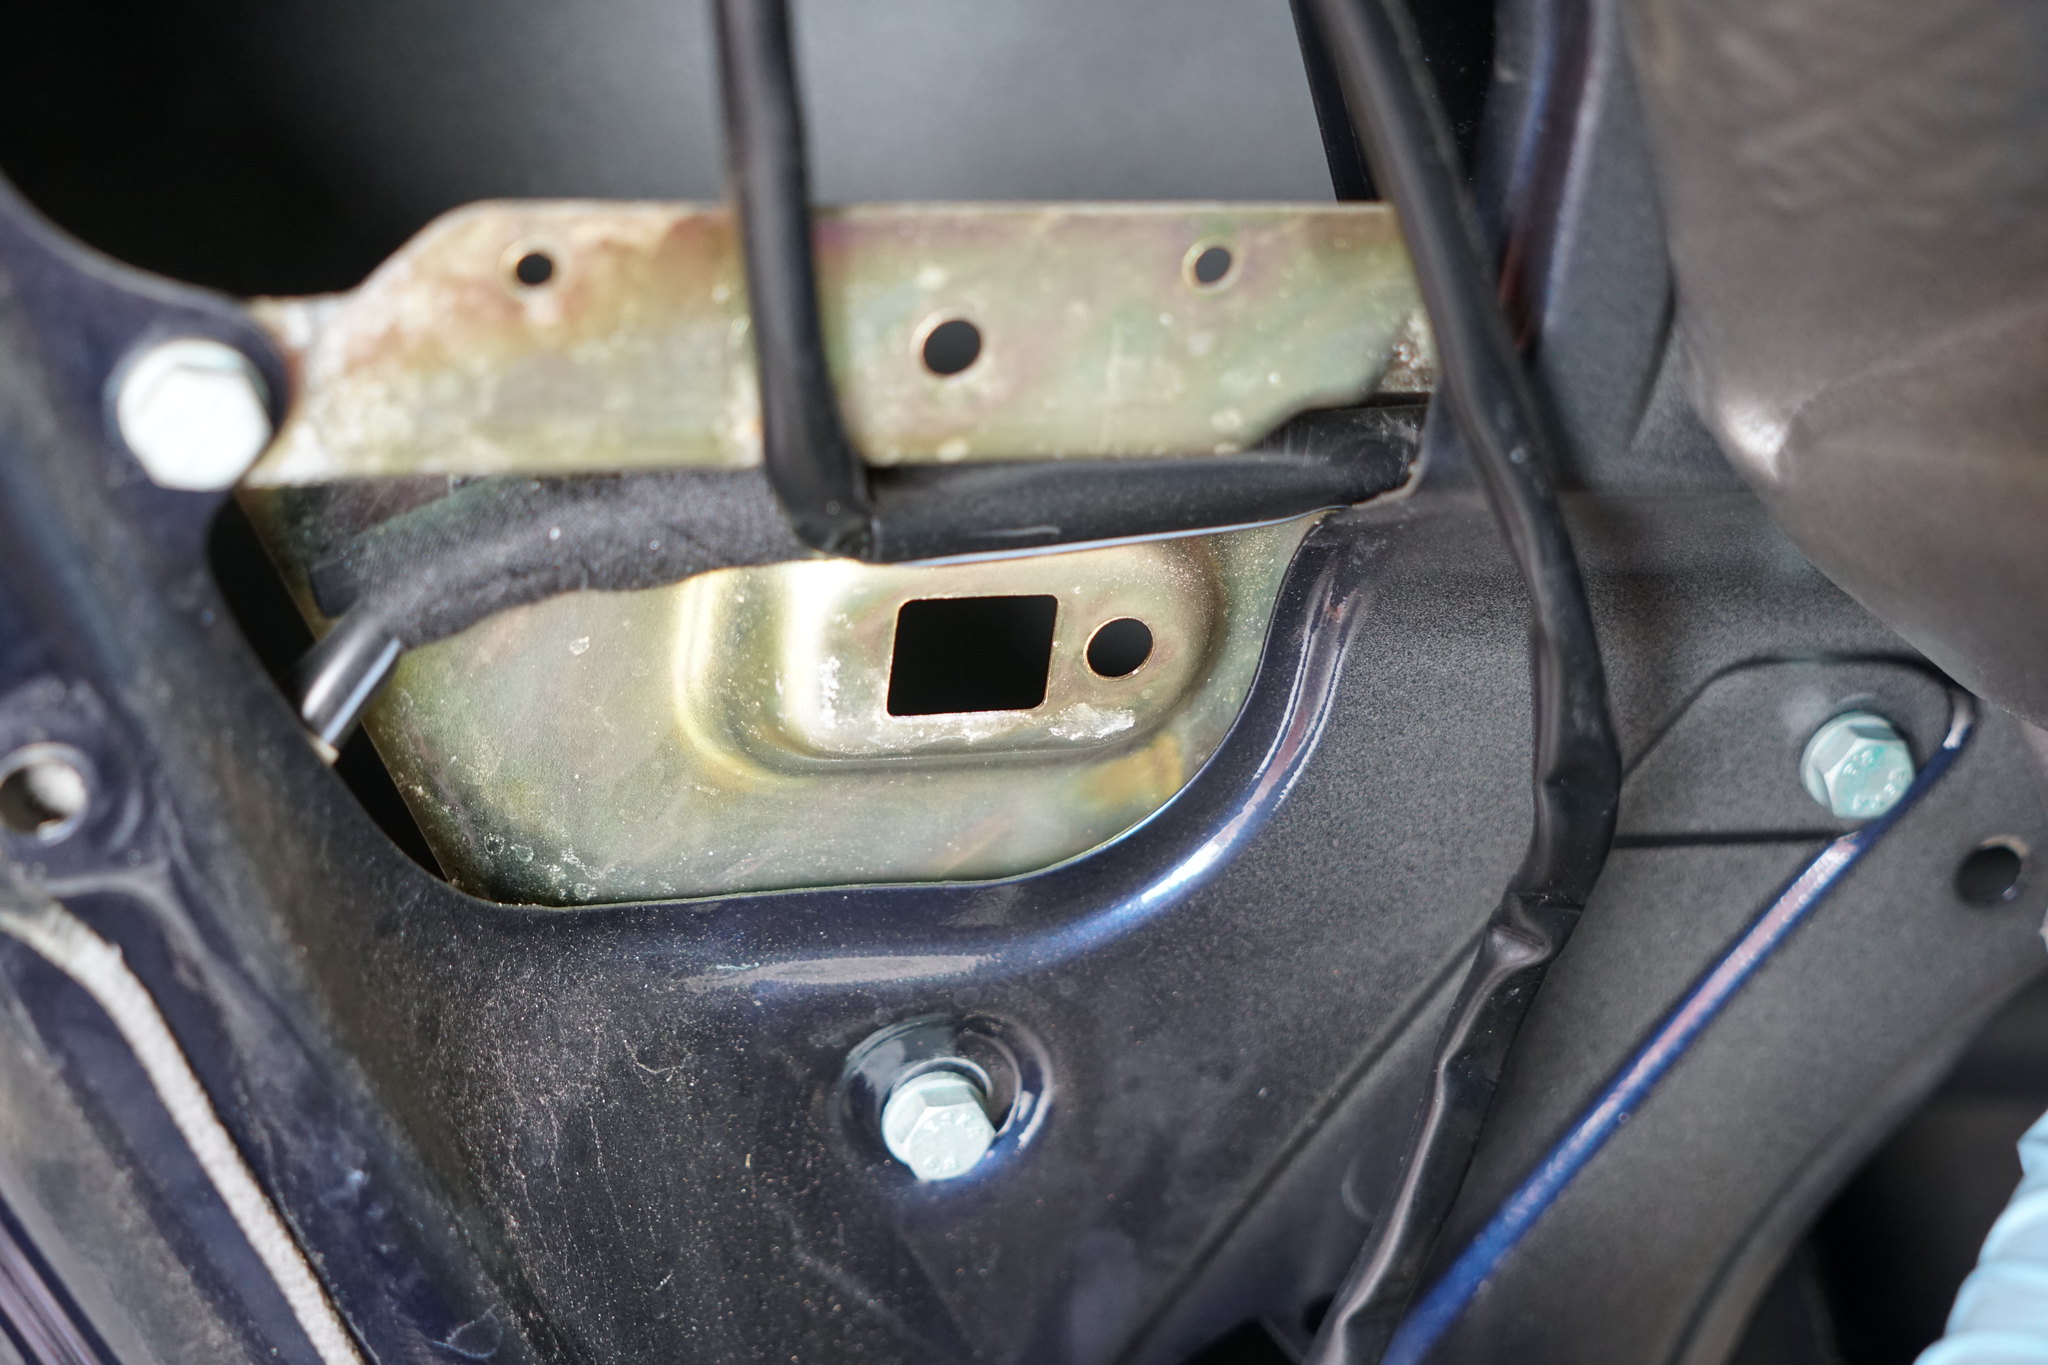
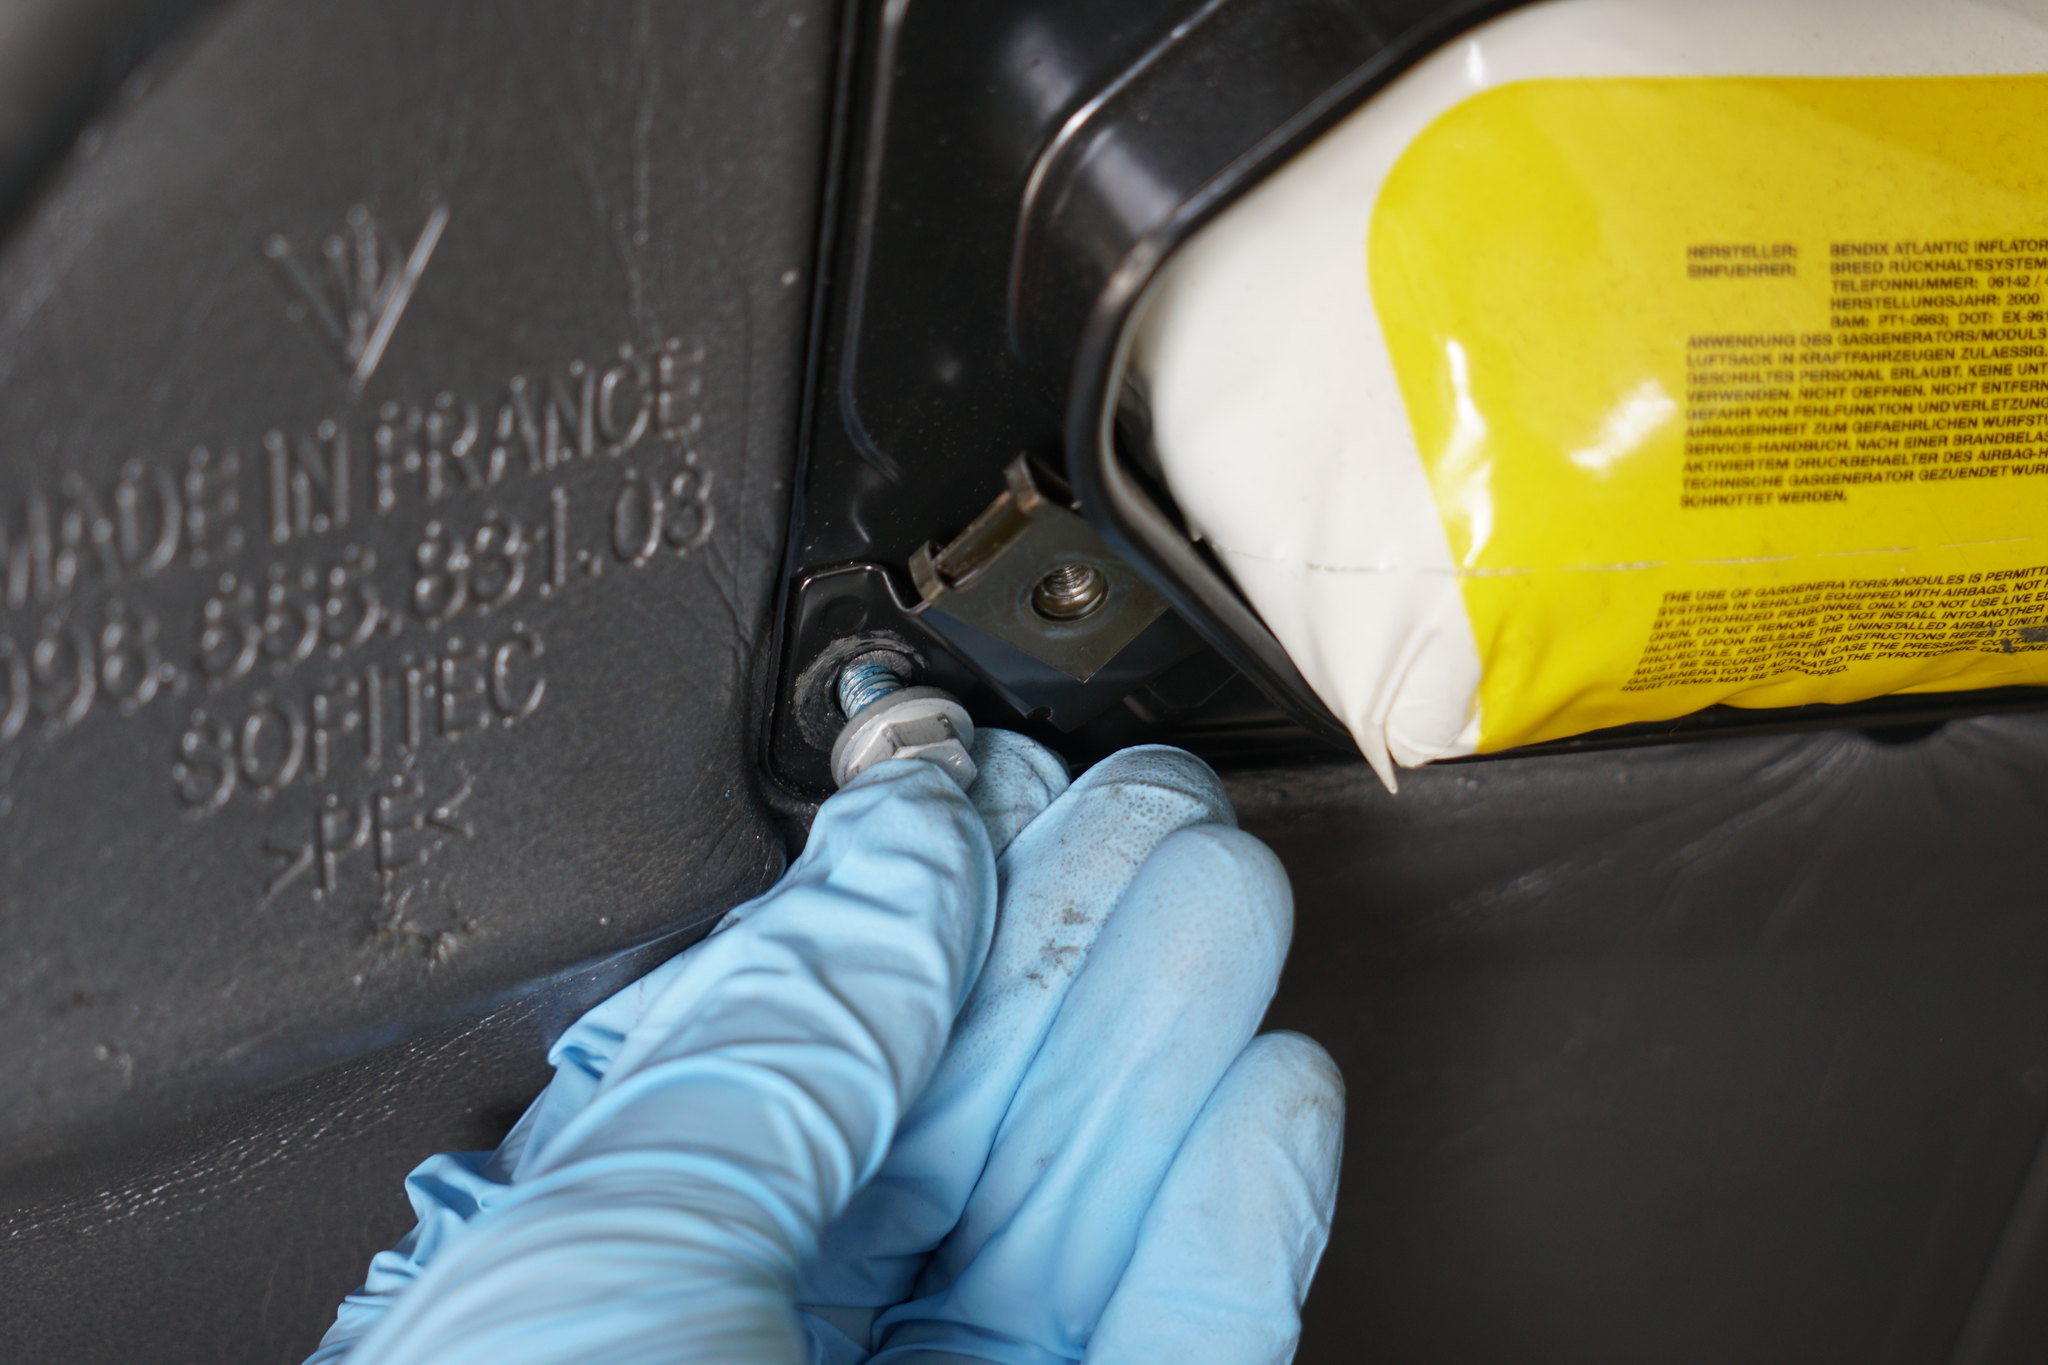
9. You will now need to remove four screws with a 10mm socket. Three are obvious, but the fourth screw is the bottom corner of the air bag bracket (this screw has blue locktite and will require a little more effort removing)
10. After the screws are removed, you’ll notice the sheet metal piece is still hanging in place. You will need to remove this wire loom clip before completely removing the part.

11. Remove the door latch screws using an 8mm XZN (aka triple square) bit socket. Do not attempt to use a Torx bit, as you may strip this screw. These screws are torqued very high, but due have blue locktite.
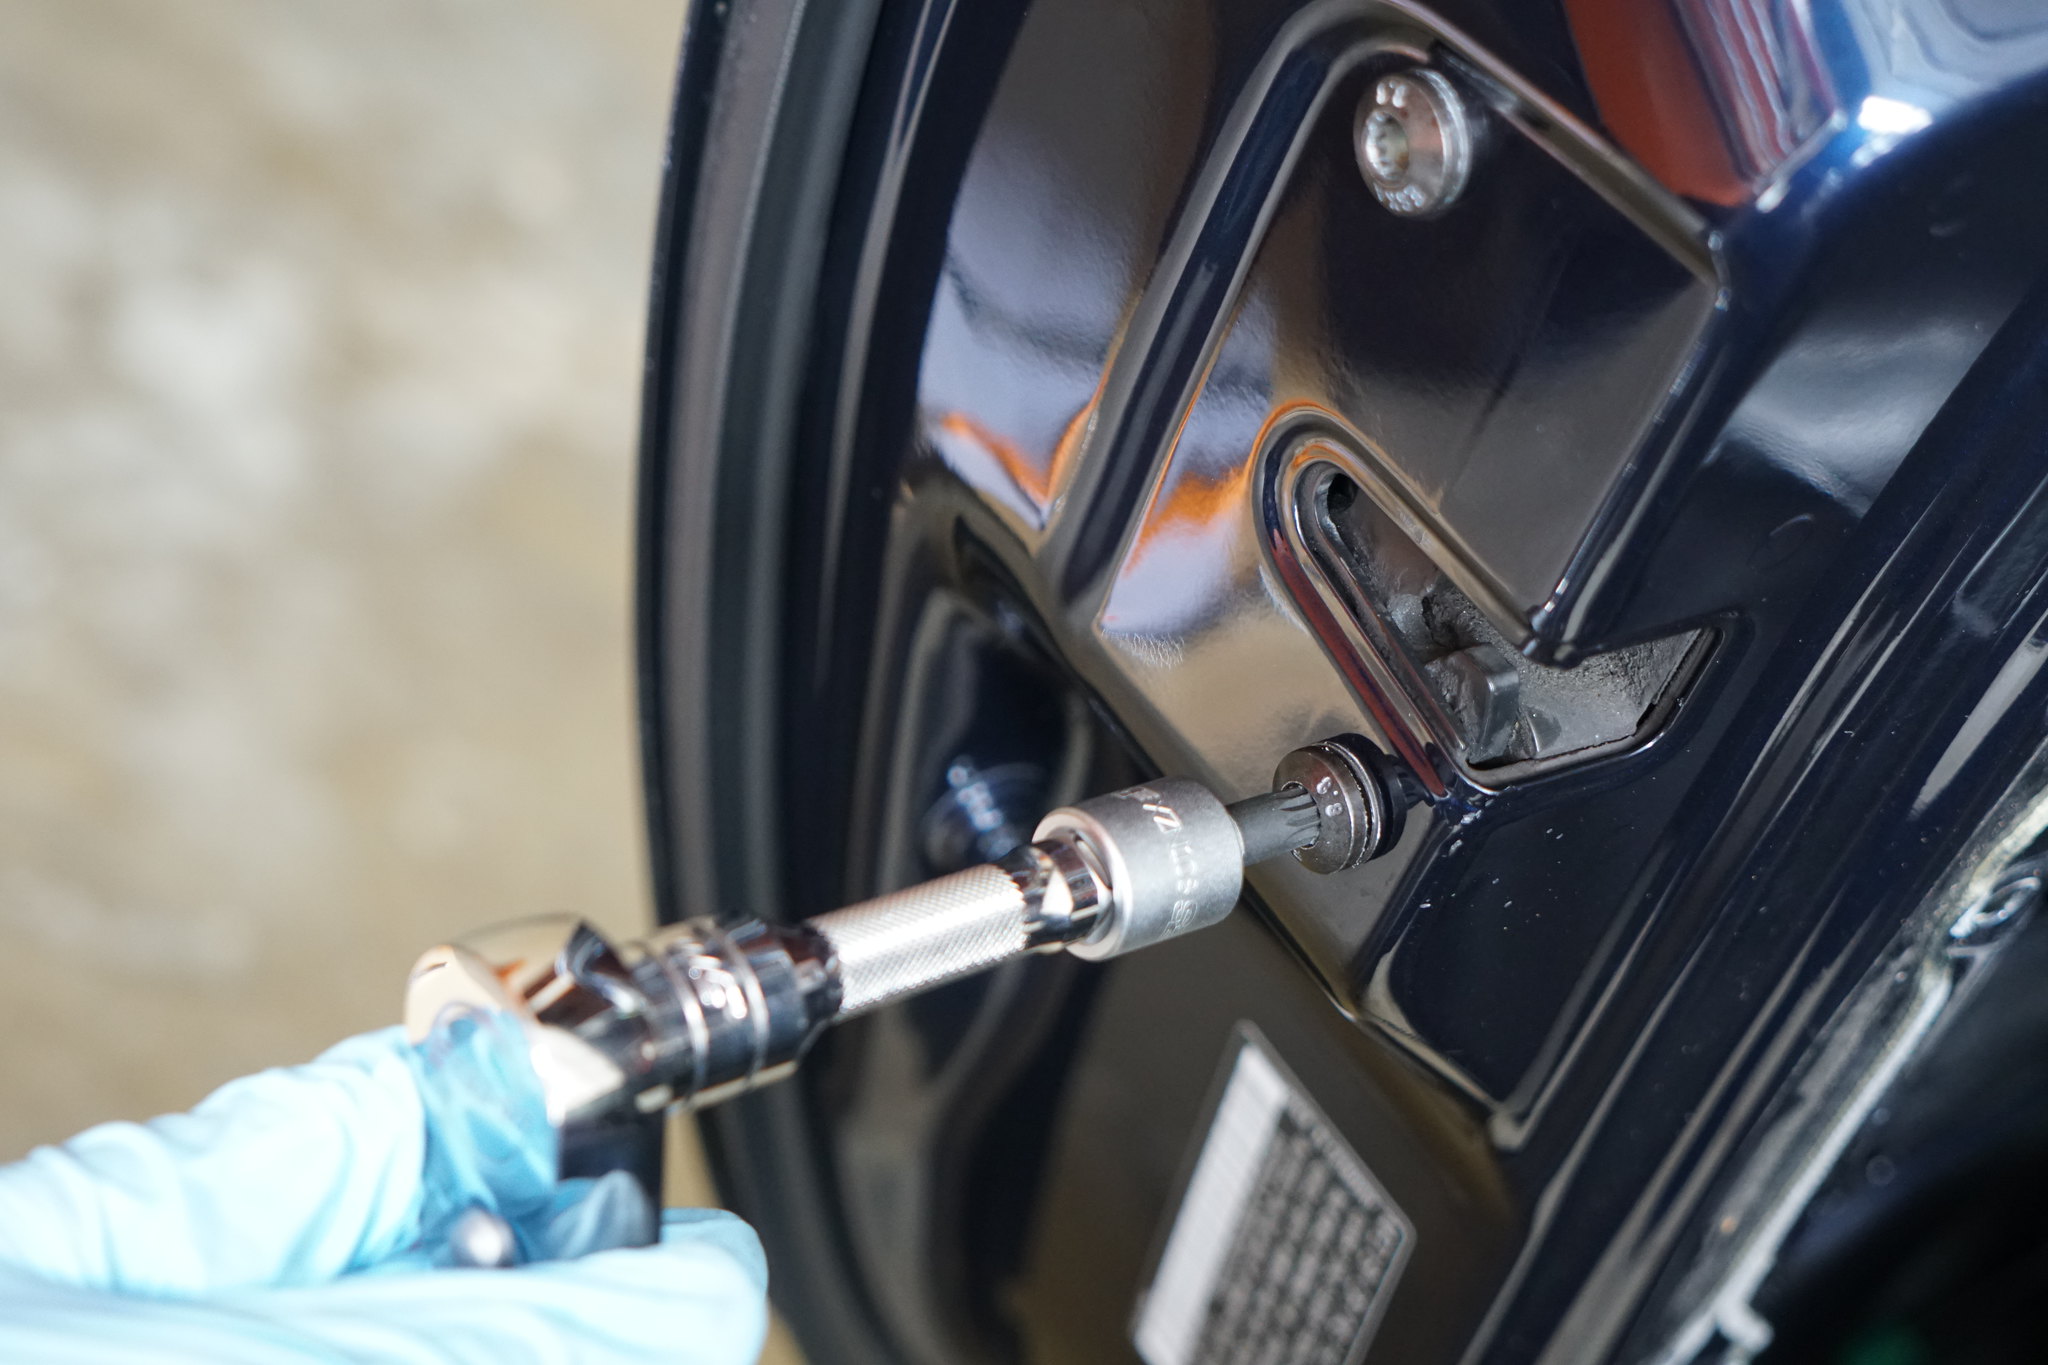
This is where that EZ Red light comes in. The magnetic base sticks to the topside of the door.


12. You will need to remove two screws, using a swivel 10mm attached to an extension. Alternatively, you could use a ratcheting combination wrench, but I found the first way to be better.
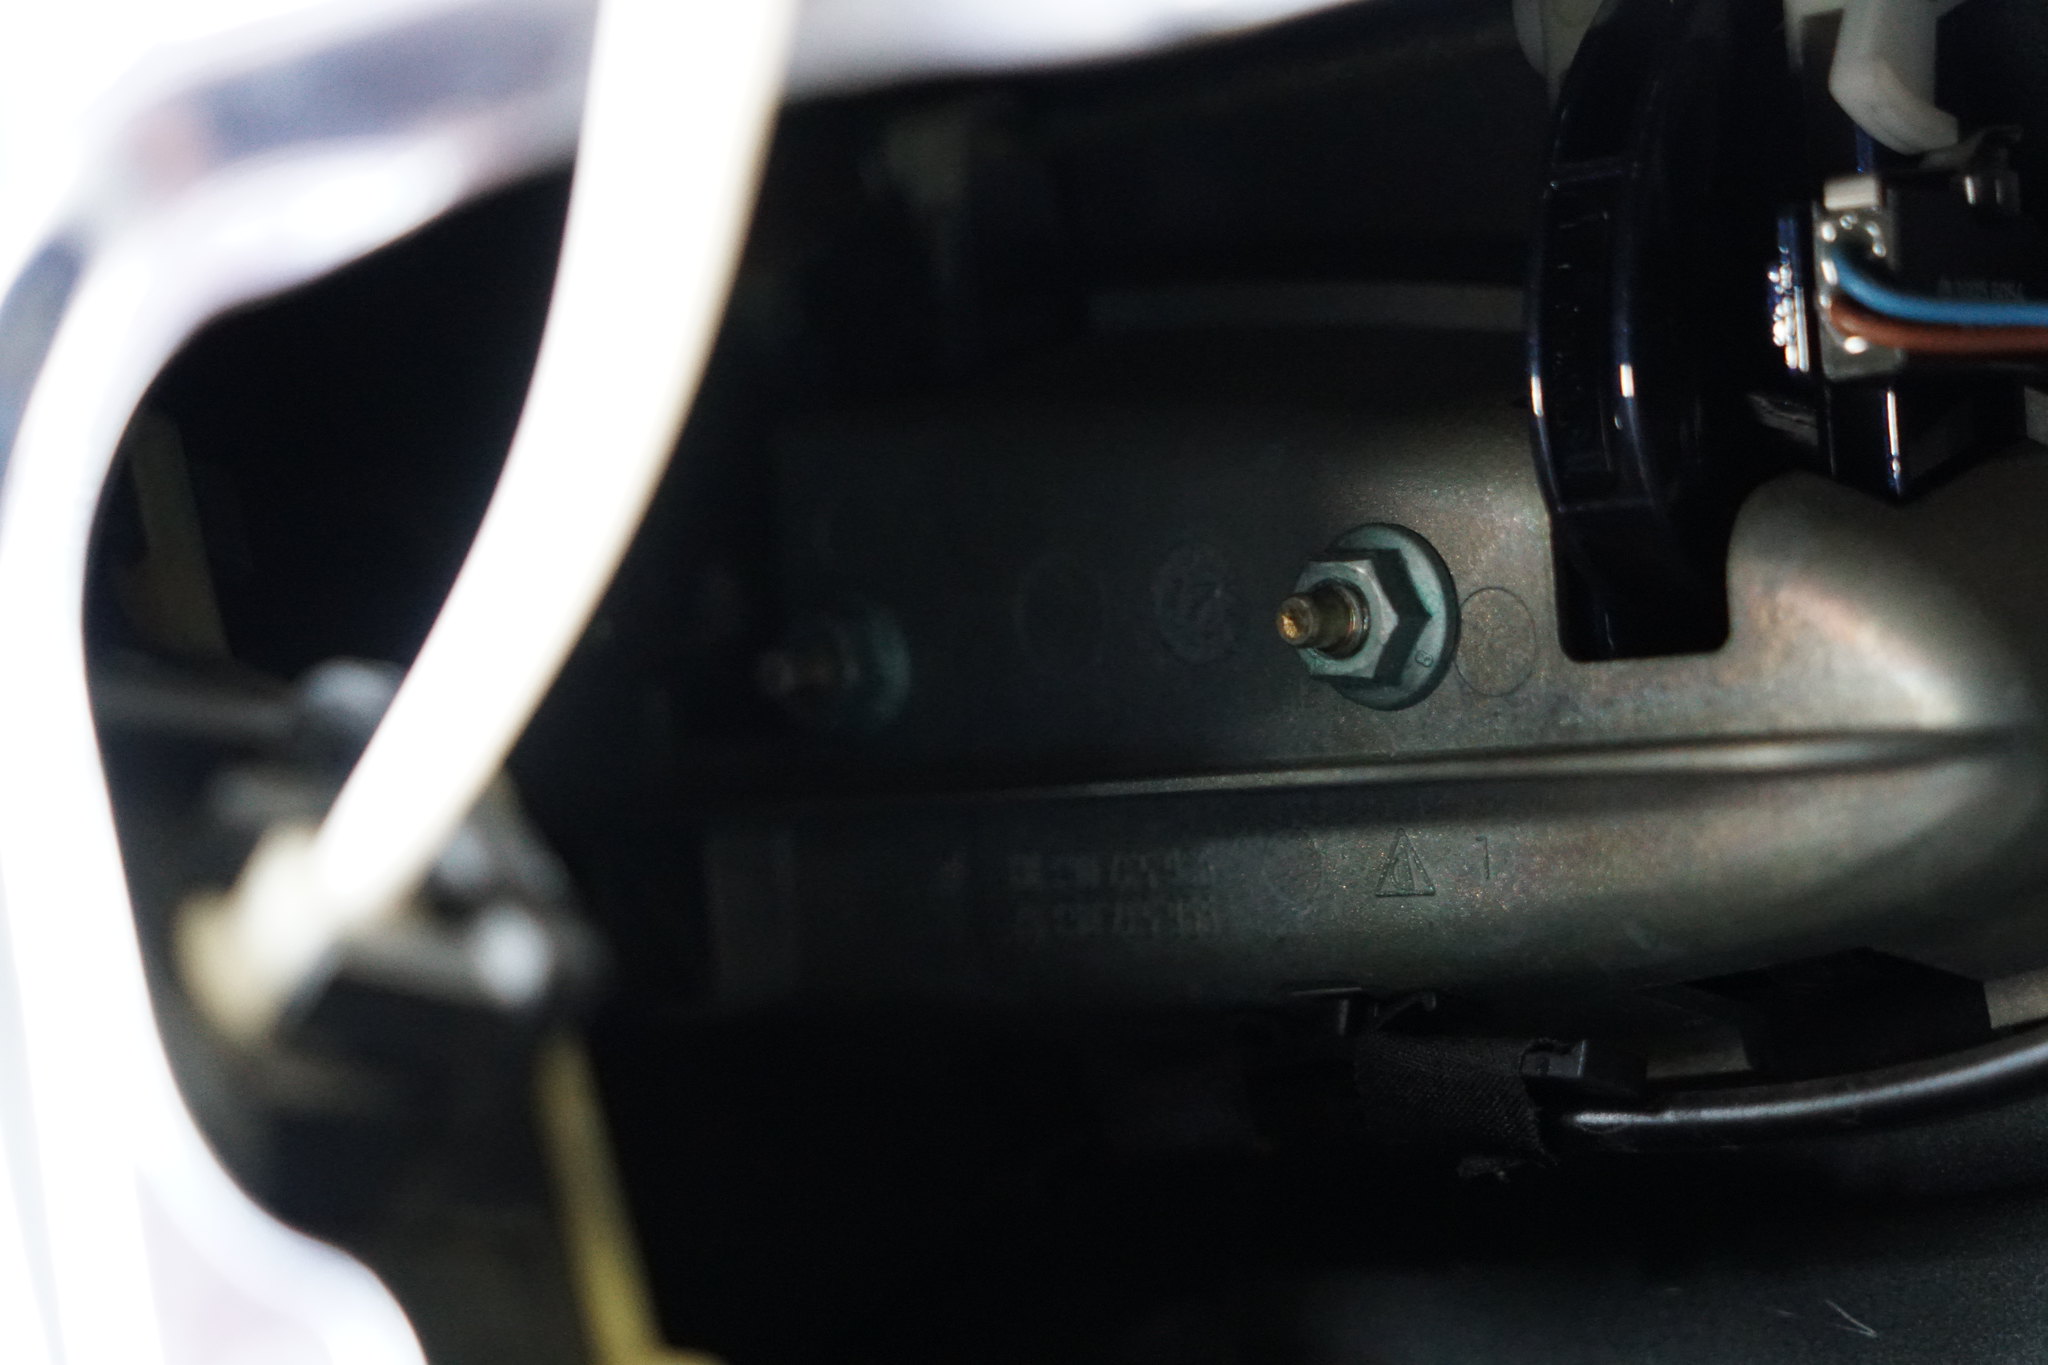

It’s almost like it was designed to be done this way!
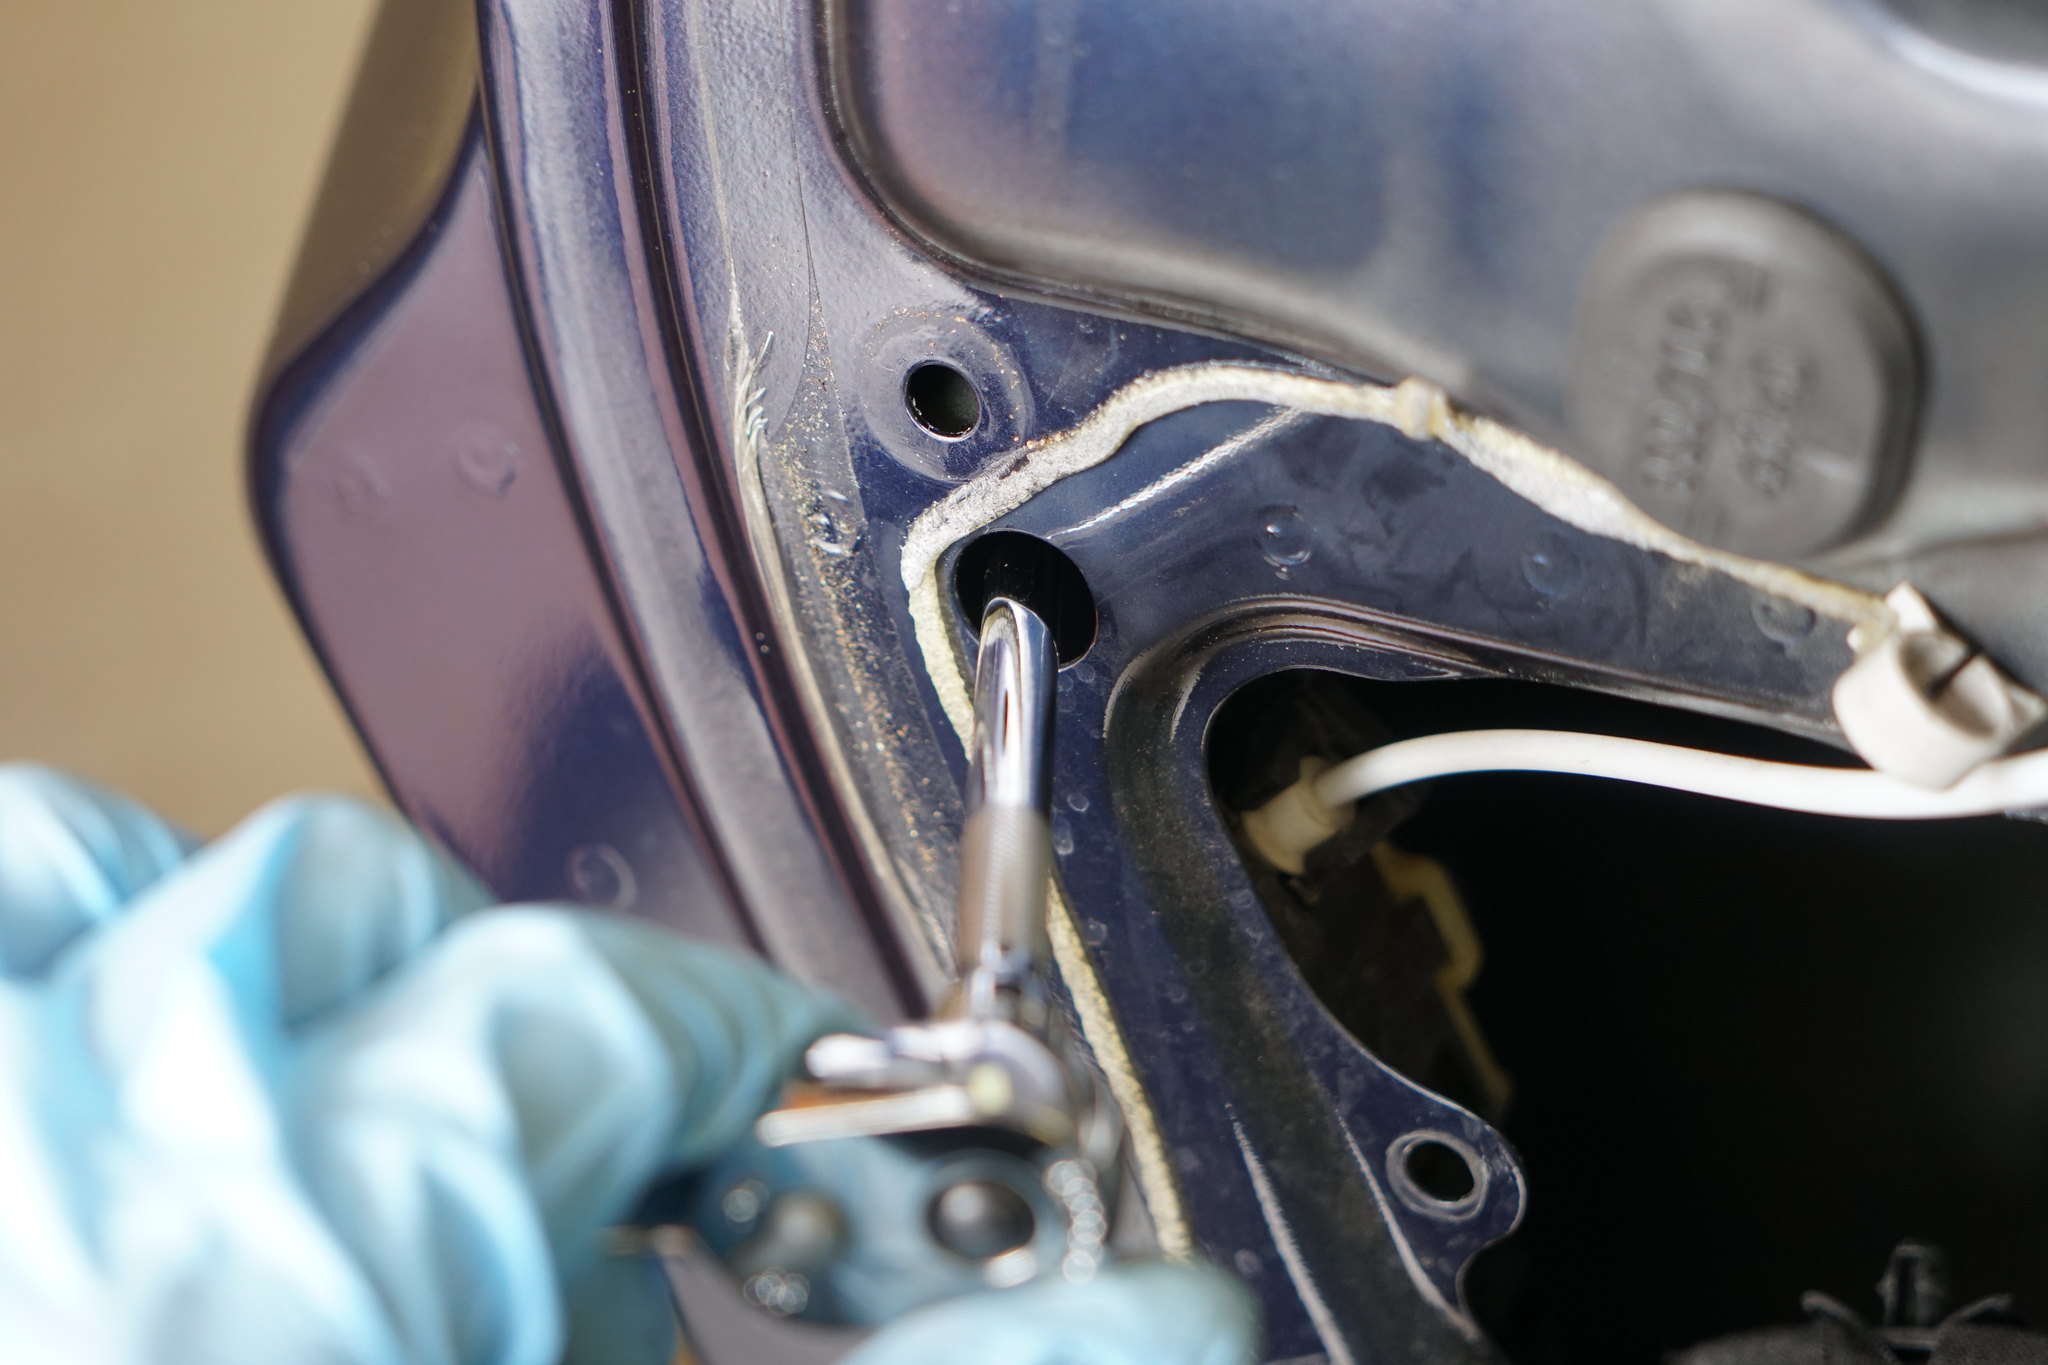
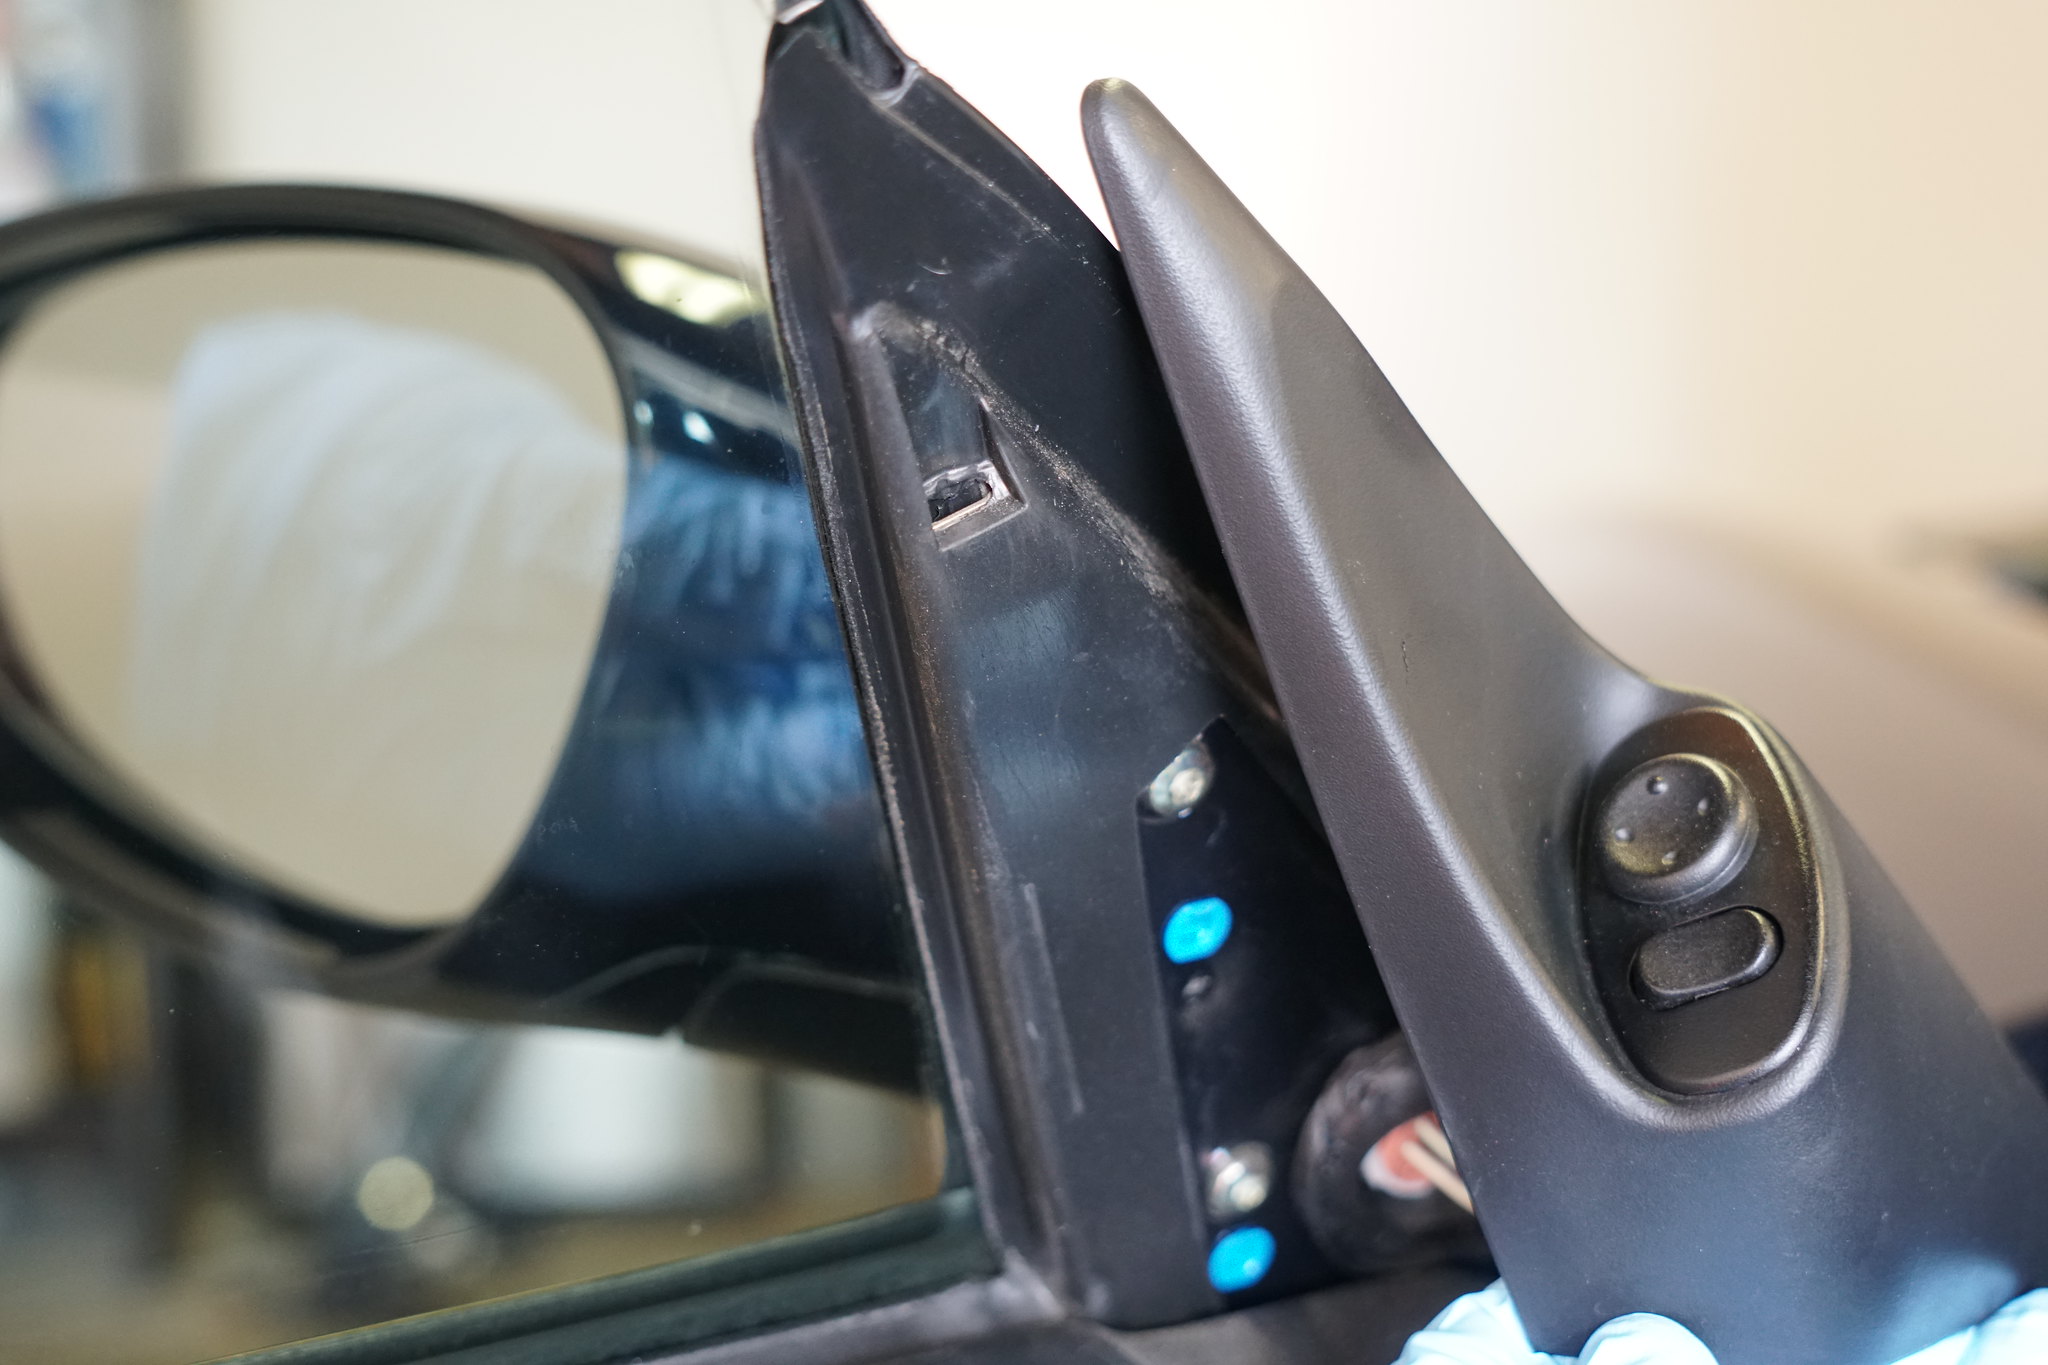
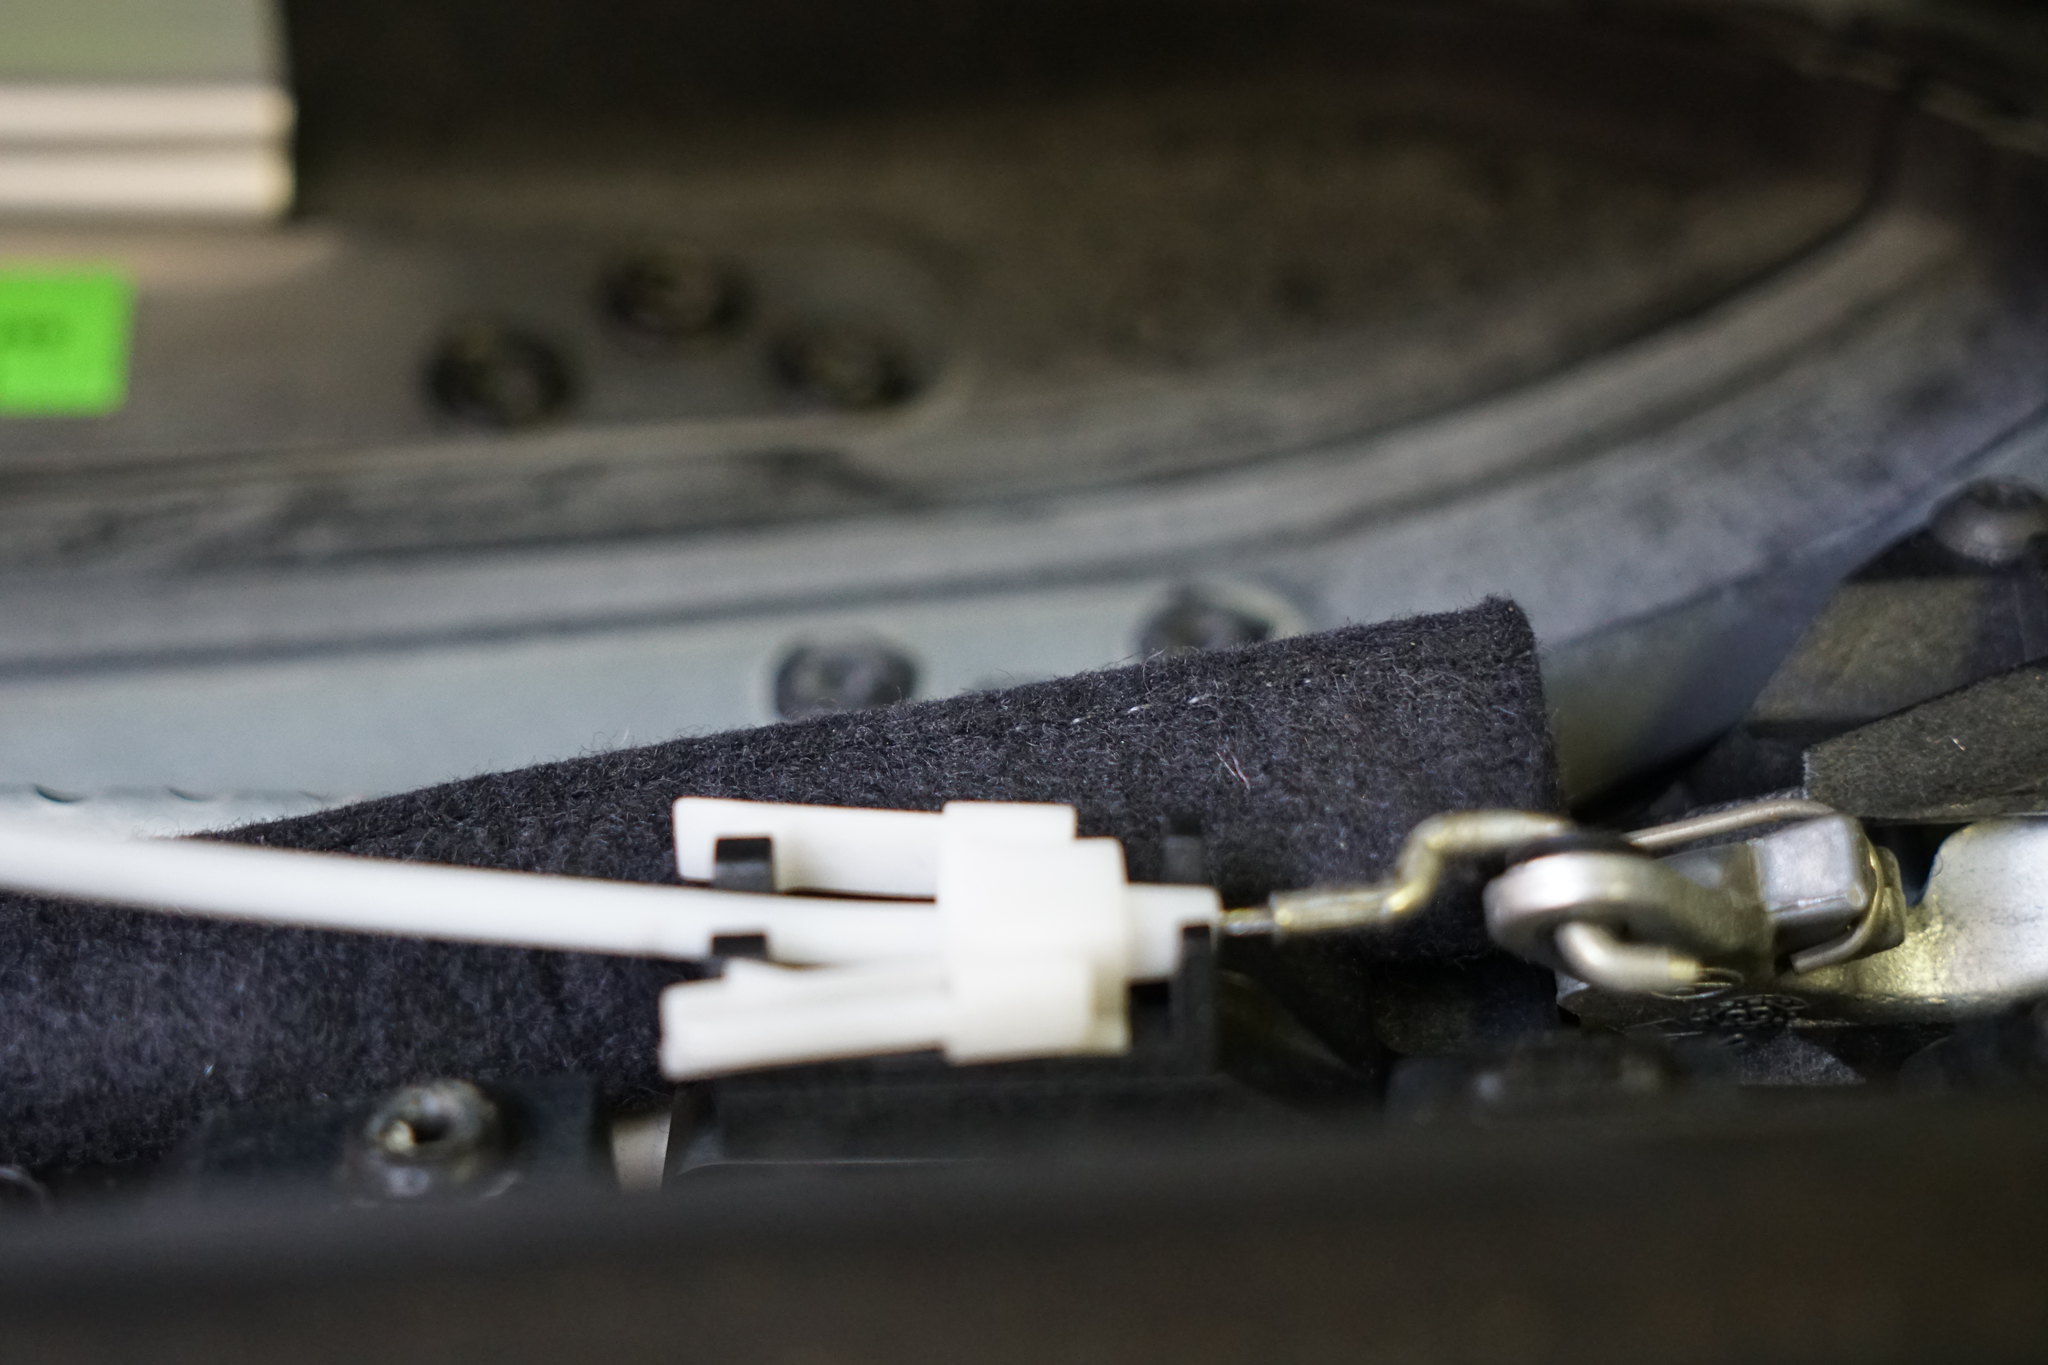
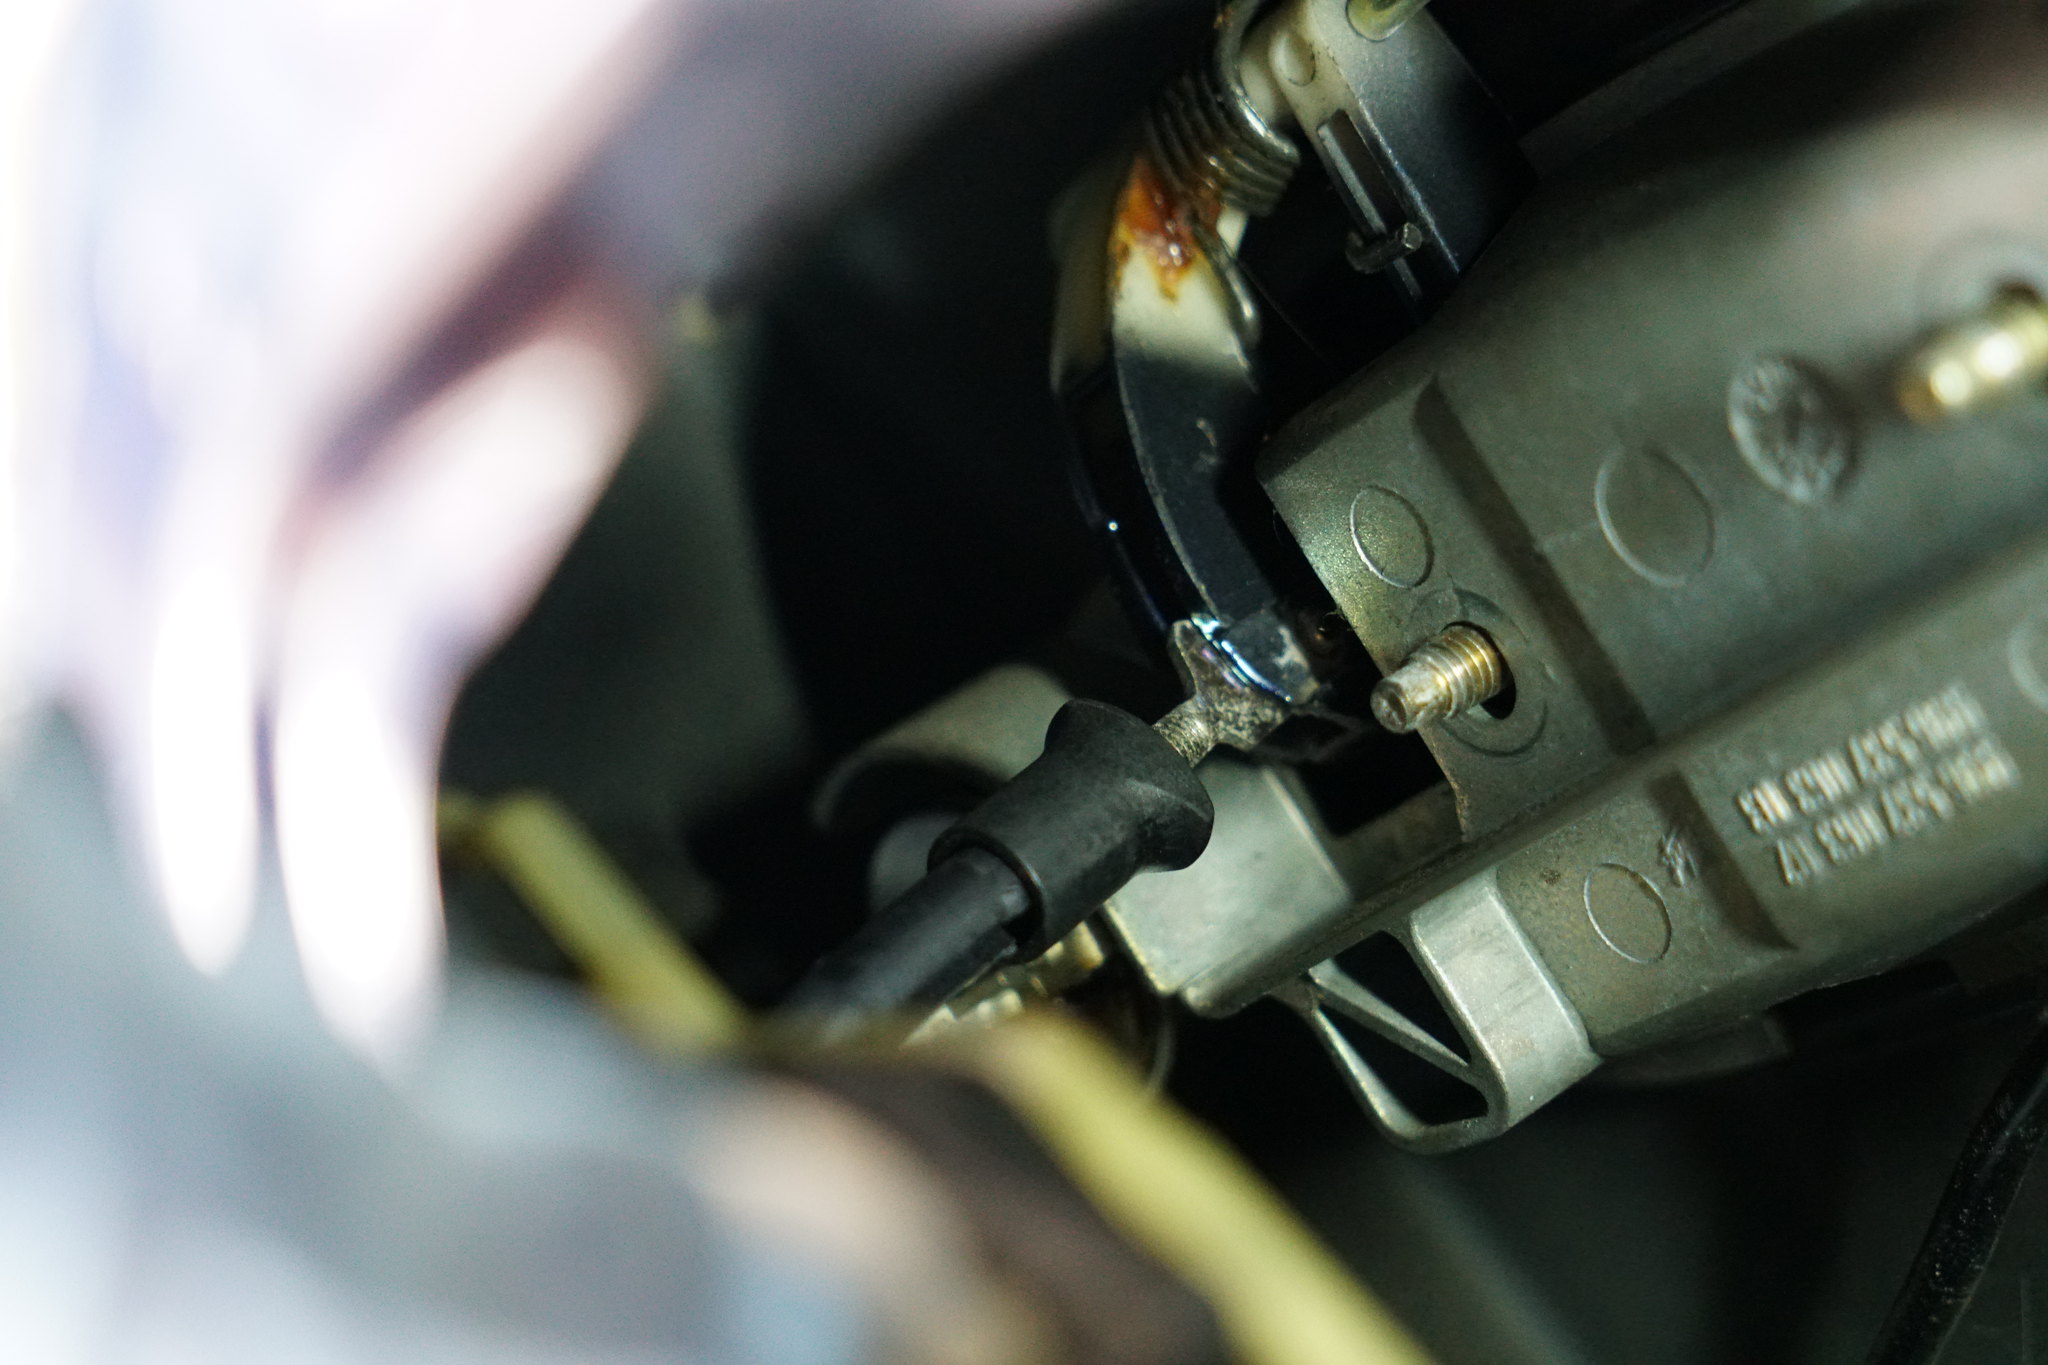
13. You will now want to release the exterior handle from the door latch. To do this will need to pull back on a plastic sleeve. After you have pulled the sleeve back, you can separate the two by pushing upwards on it.
Here is before the sleeve is pulled back
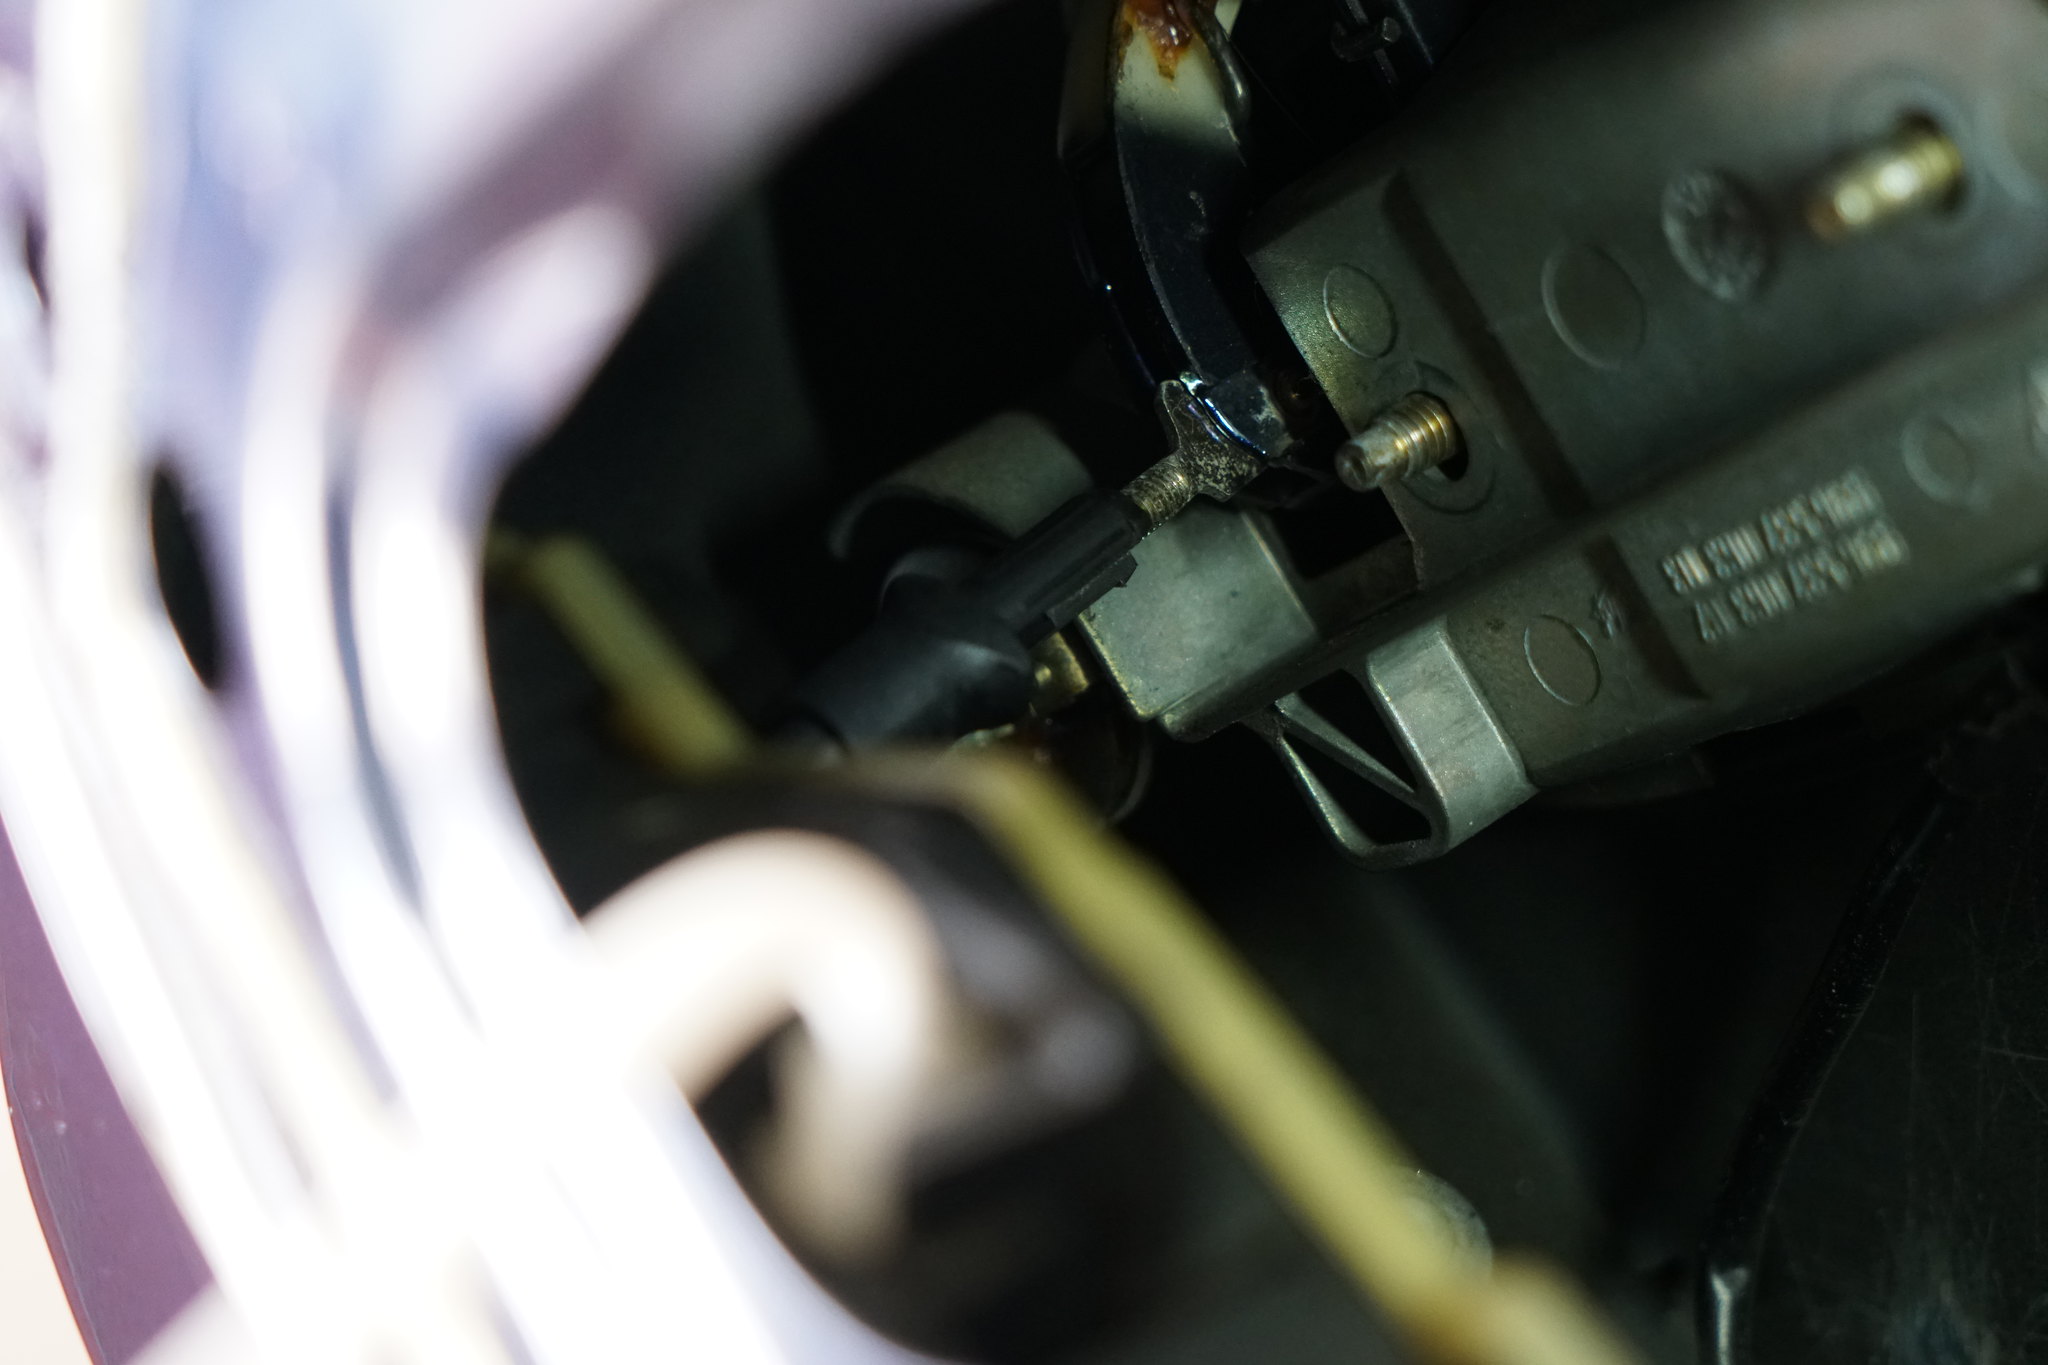
Here is the sleeve after is pulled back. You will see the bottom of the plastic tube has a slot. Push upwards from the bottom, and the door latch will release.
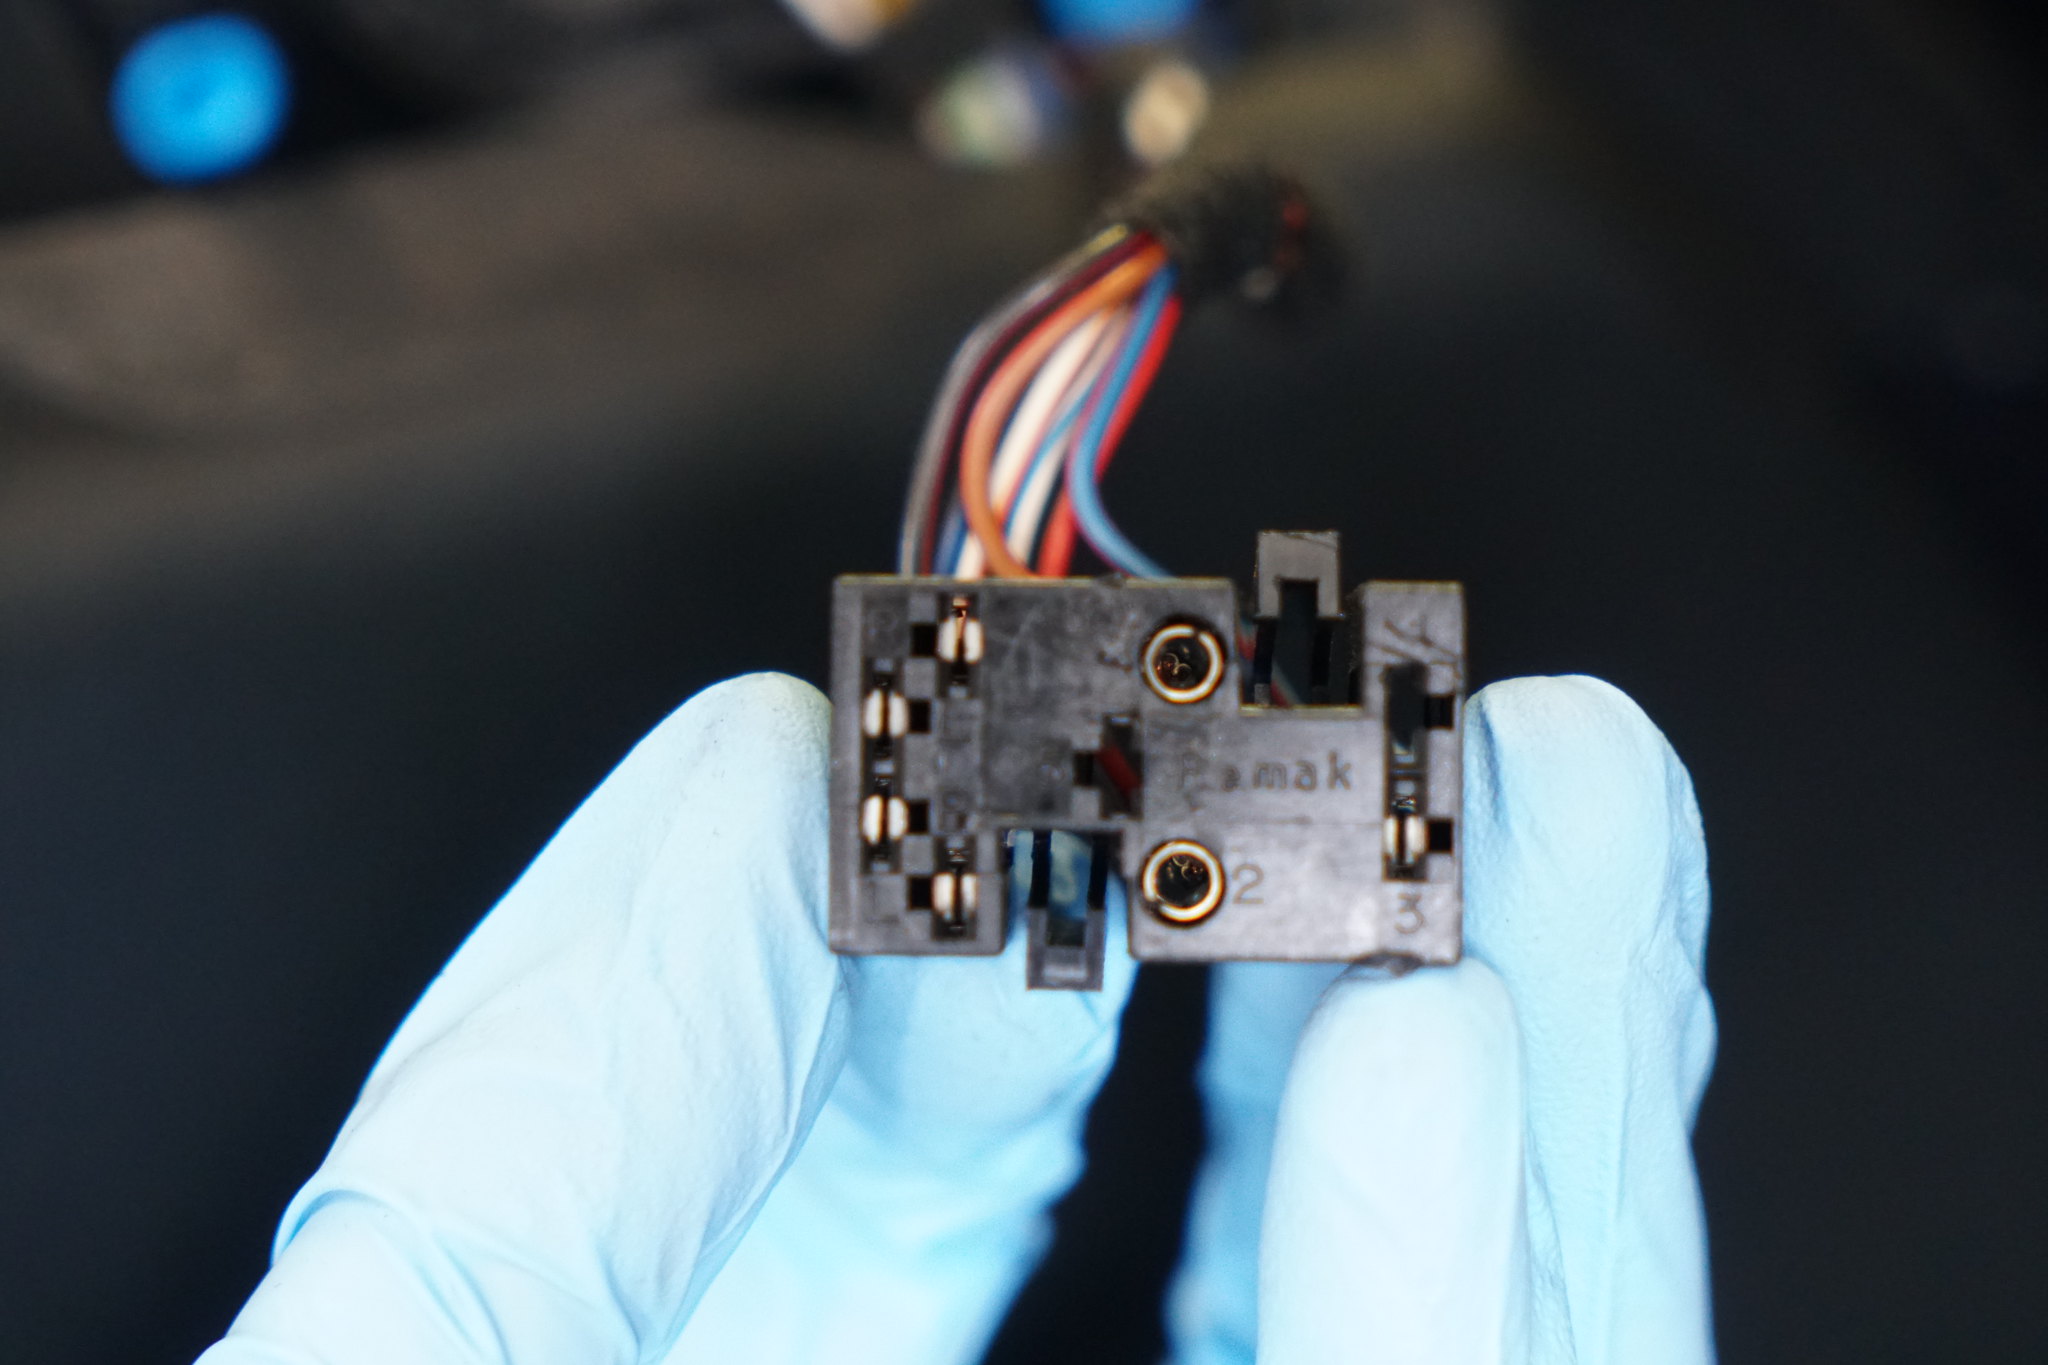
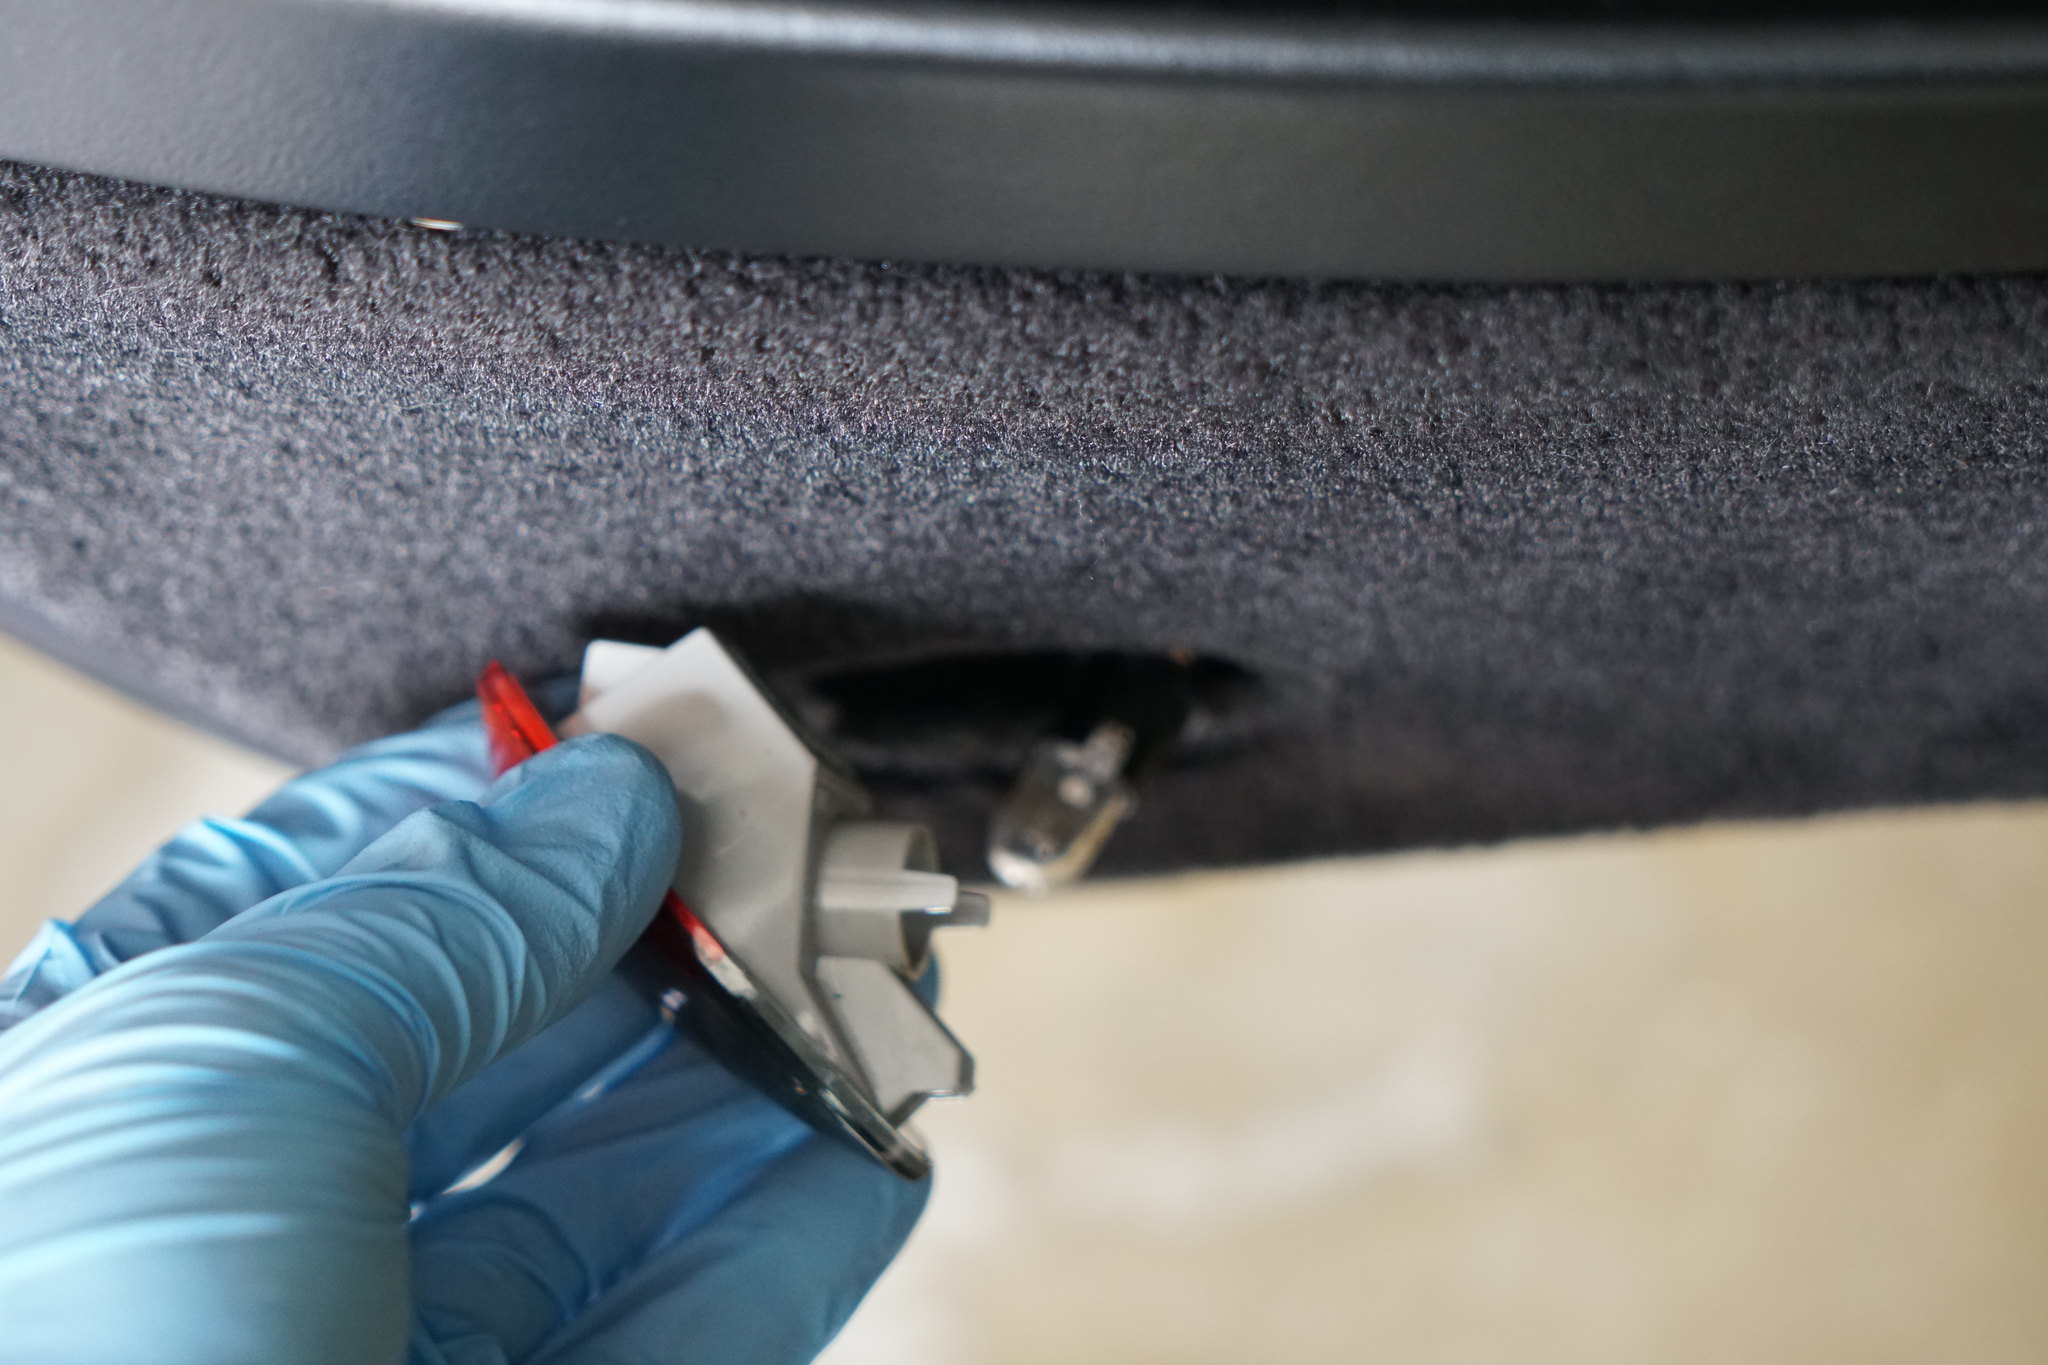
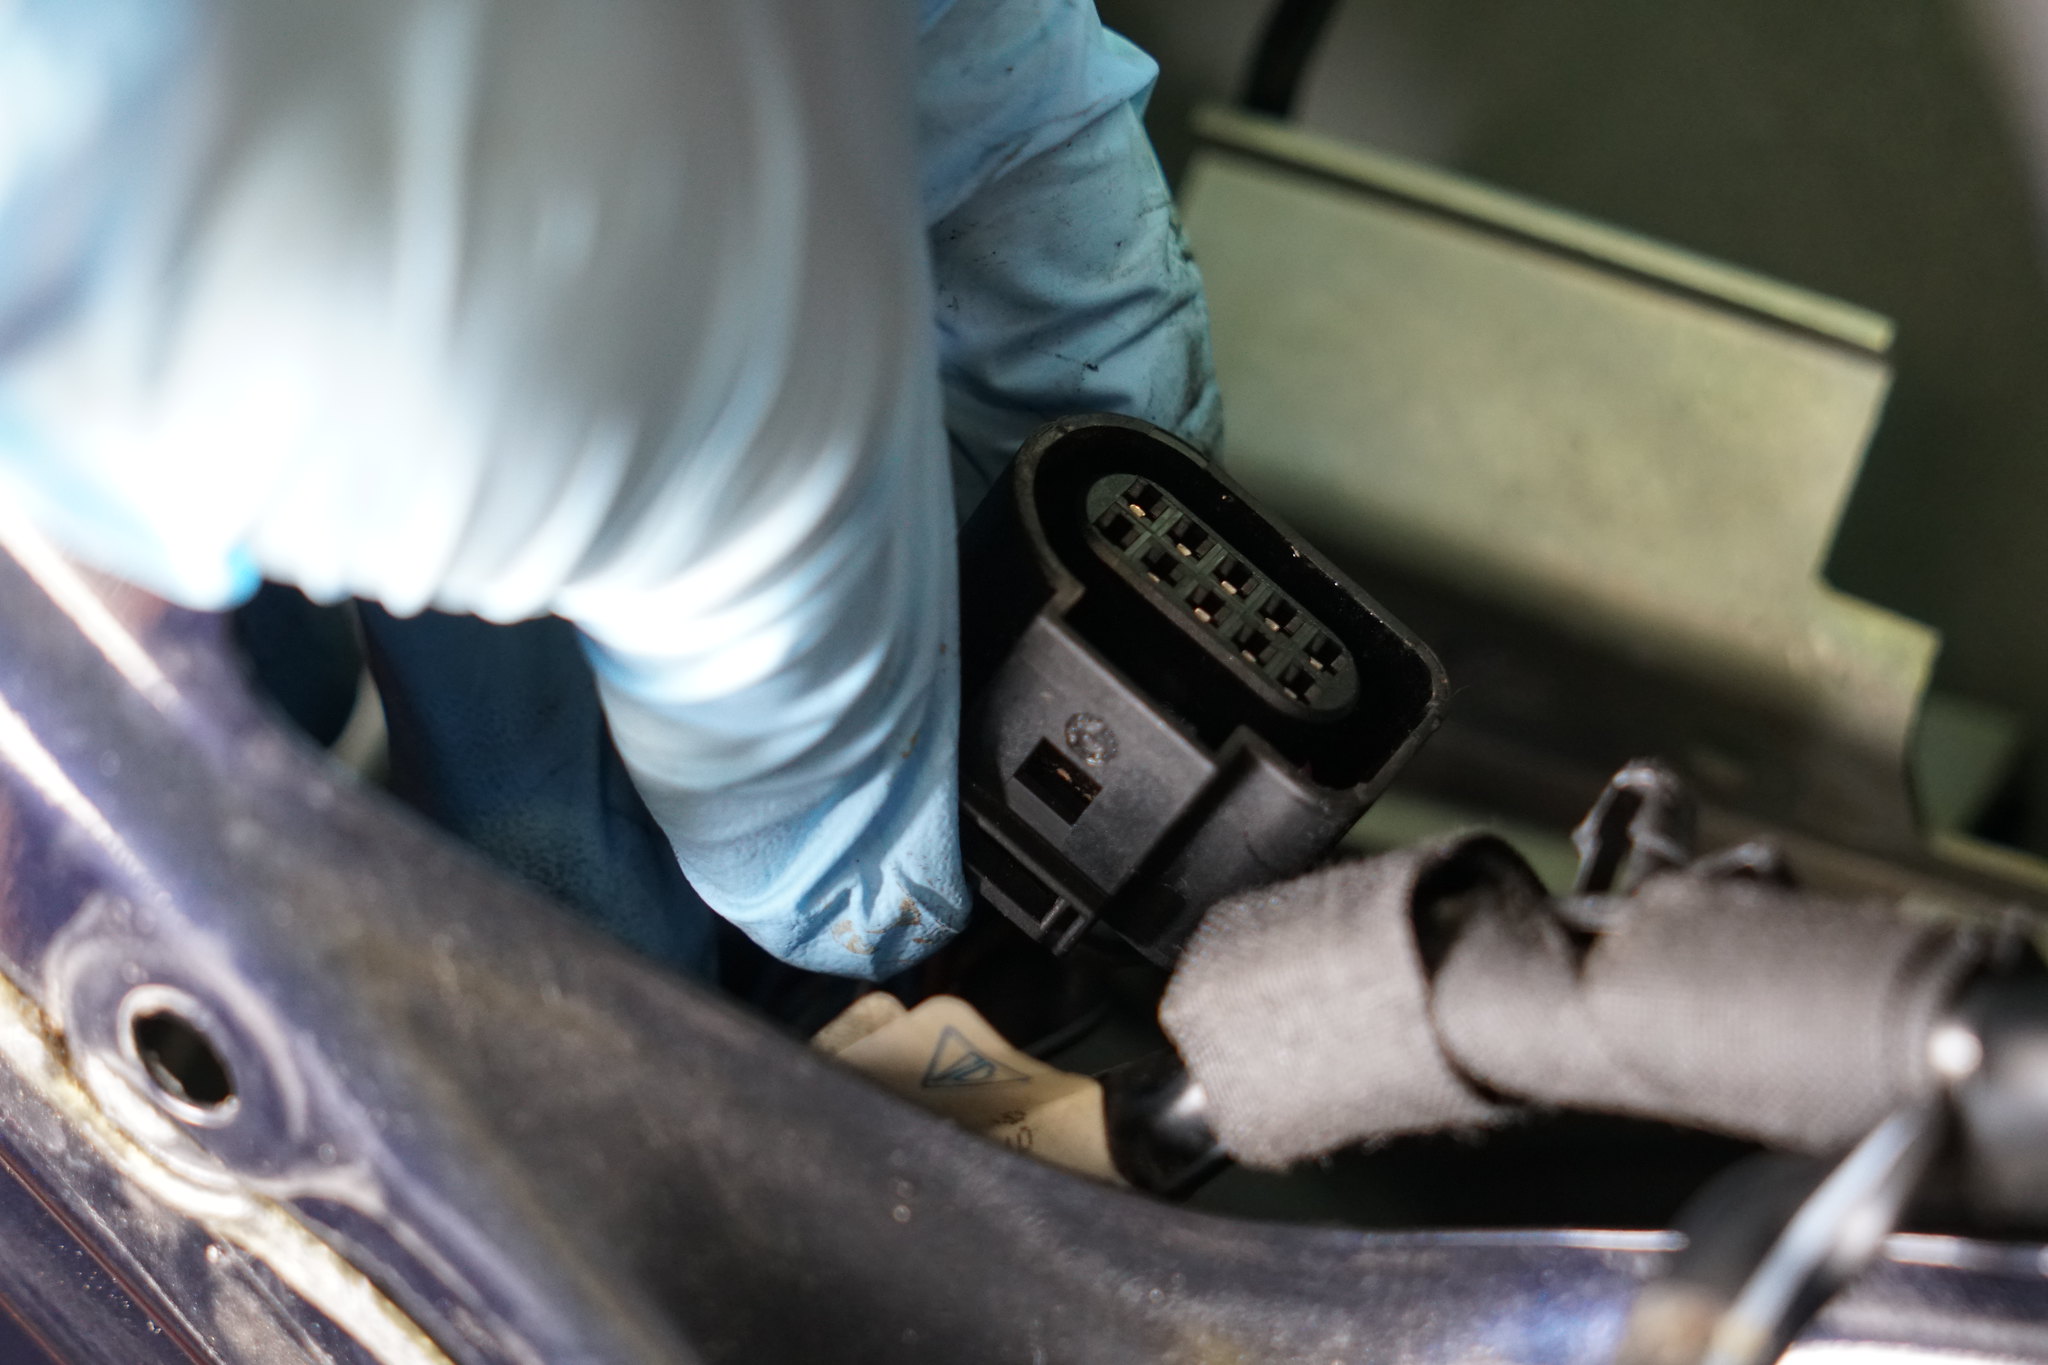
14. Remove the electrical connector from the bottom of the door latch.
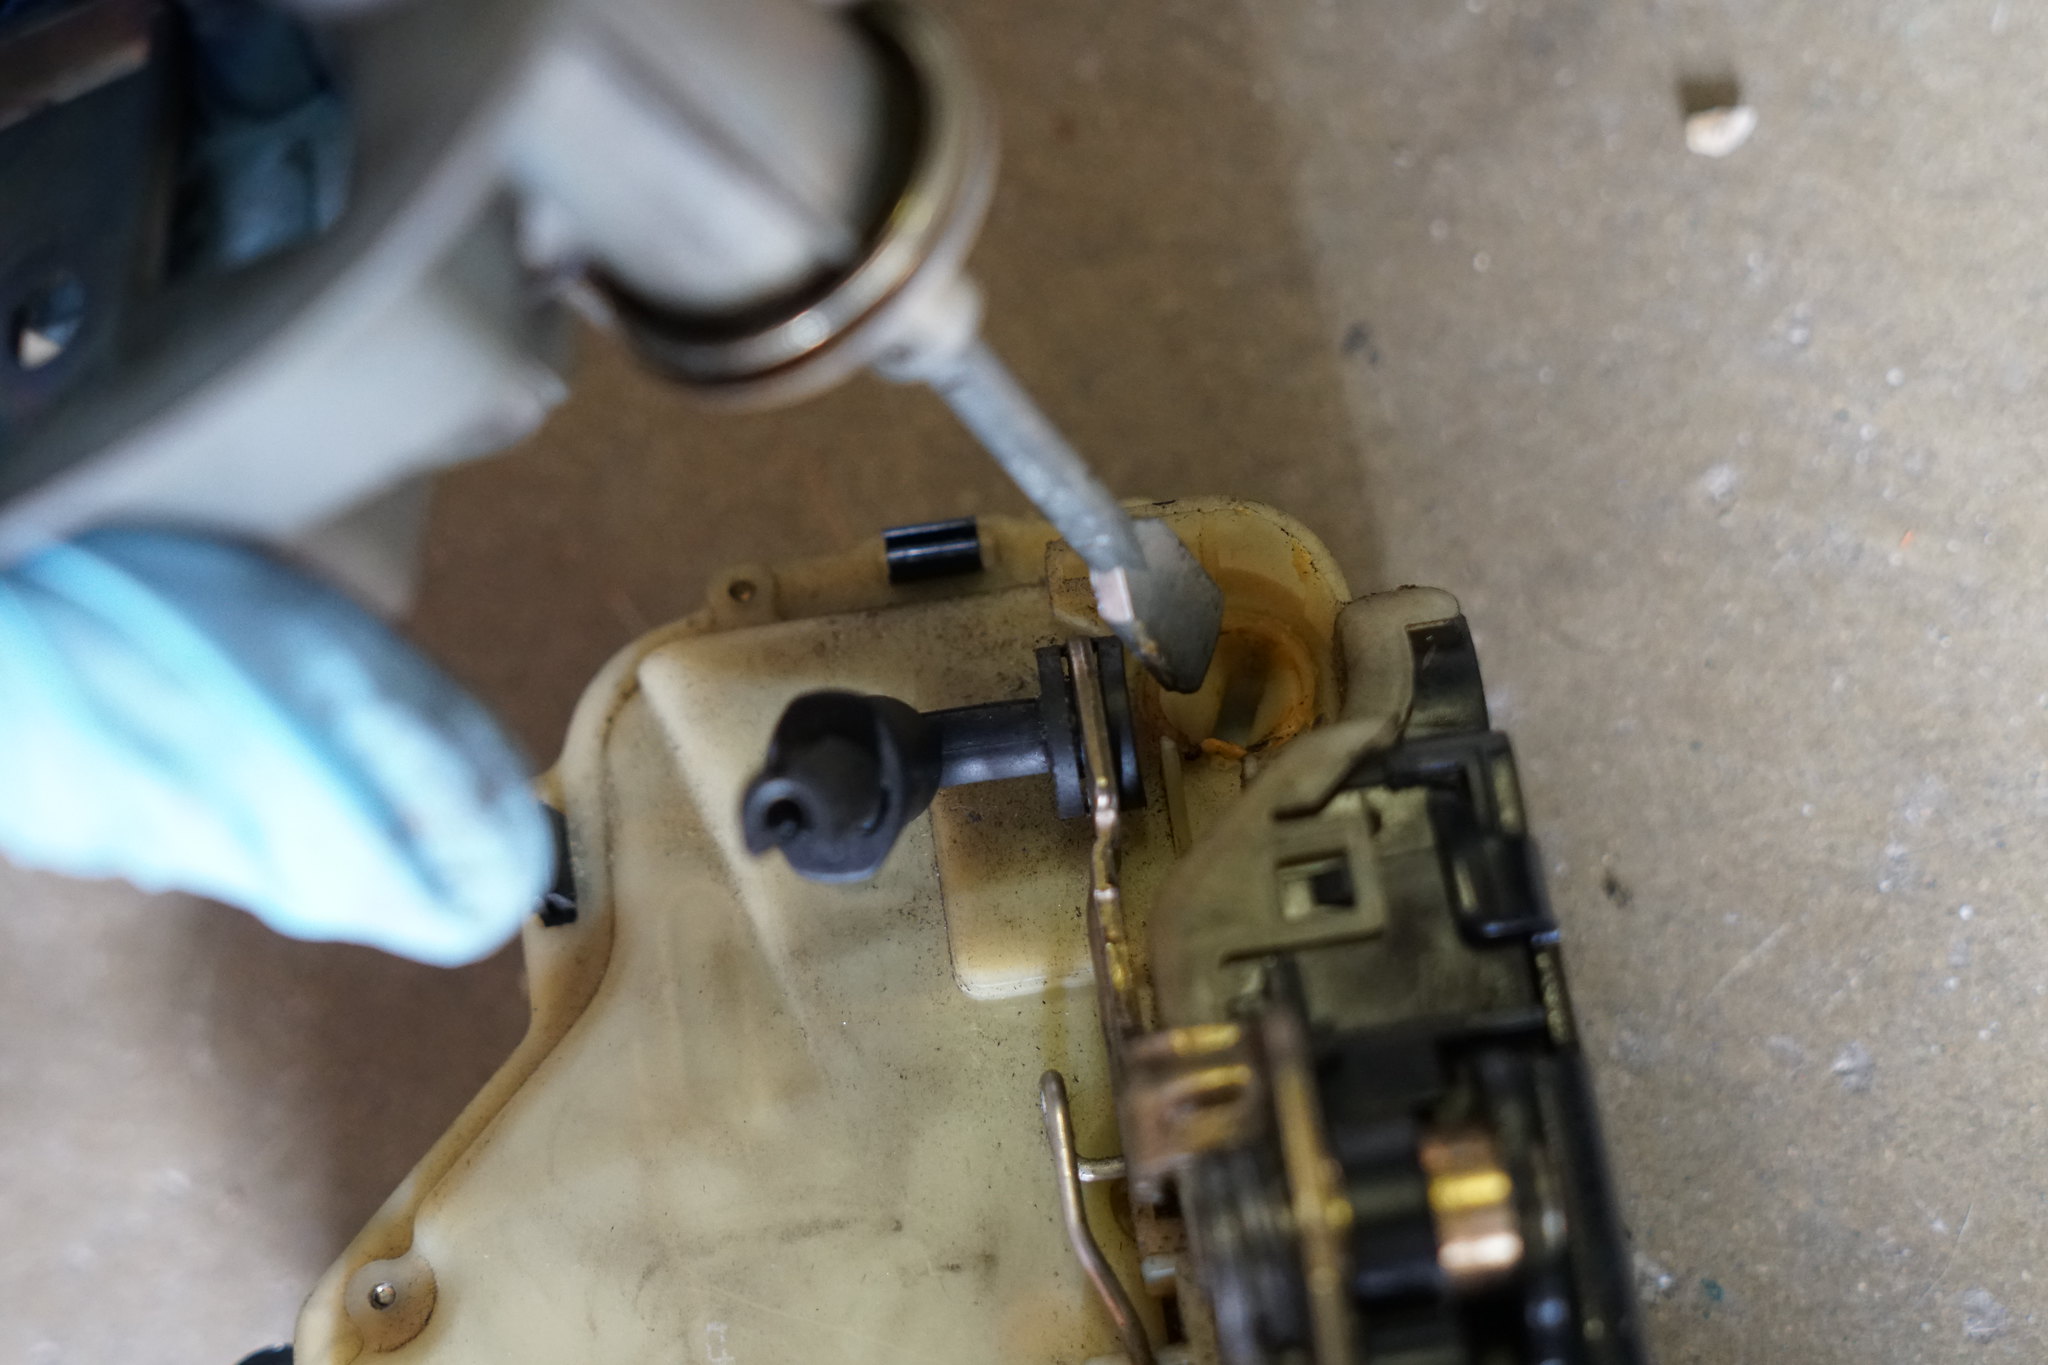
15. The only thing holding the door latch in at this point is a shaft that locks/unlocks the door latch. You can wiggle the door latch out, but just know the cast aluminum piece holding in the door handle will come out with the door latch. Here you can see the shaft that connects the key mechanism to the door latch.
16. For reassembly, you’ll want to start by reattaching the cast aluminum piece that goes behind/into the door handle. Do not tighten down, just have it snug, as being able to wiggle it around will make installing the door latch easier. You will need to get the shaft to line up.
17. Swap over the cable and plastic "L" that connects the exterior door handle to the latch. After the door latch is in position, and the shaft from the key lock is inserted, snug, but do not tighten, the two 8mm XZN screws. After the door latch is position and snugly in place, reattach the connector between the exterior door handle and the door latch.
18. You can now reverse the disassembly steps from this point.
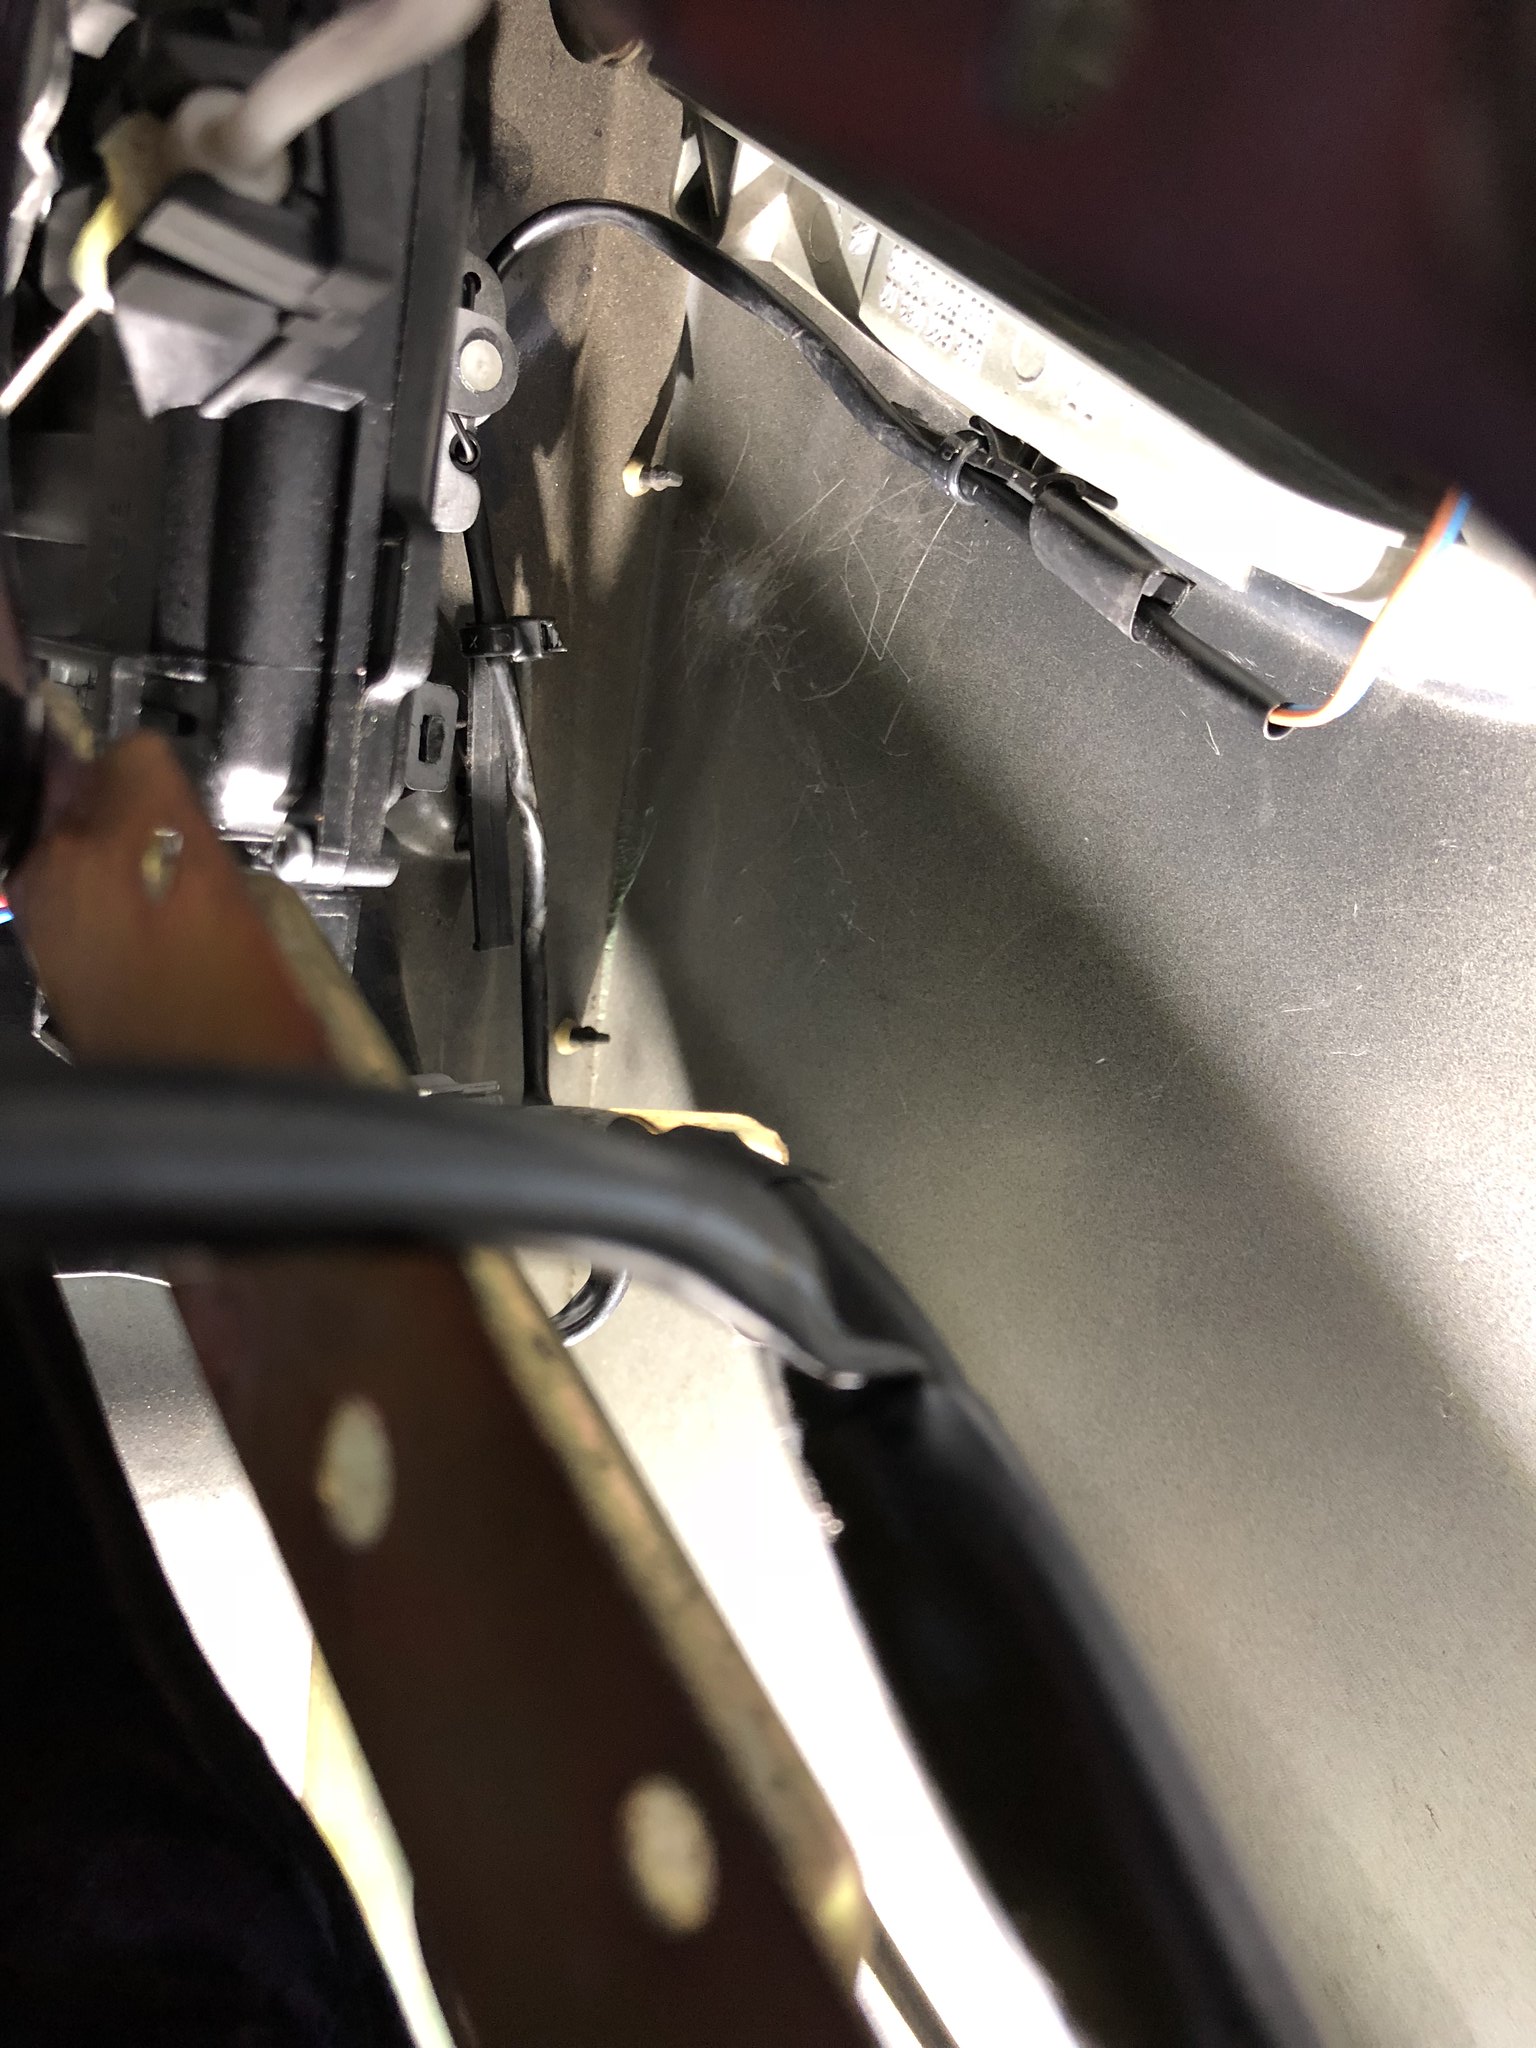
Note: You need to secure the wire for the exterior door handle micro switch as shown. Leaving the wire loose will allow the window to rip the micro switch off the handle when you roll the window down.